
Open ASSIST
Open ASSIST in the bottom bar. In TONE EDIT, describe the change you want or use the sliders, then A/B the proposed settings against your current tone. In TONE MATCH, analyze a reference recording and your playing to choose a close rig from your library and apply corrective EQ. You can refine the result in Tone Edit.
Note Both tools are available in the standalone app.
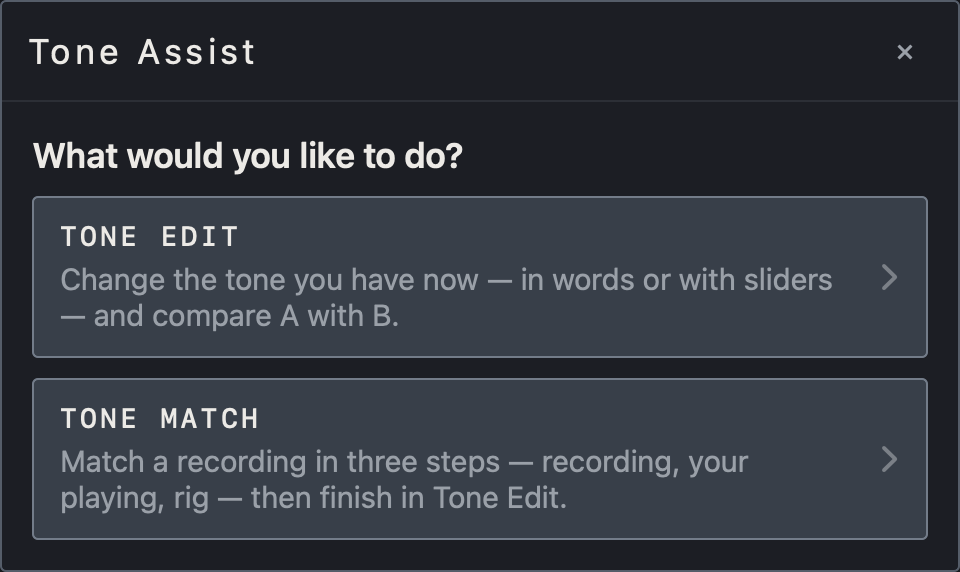
Find it on screen
- Choose TONE EDIT or TONE MATCH in the Tone Assist window.
- The line under each card says what that task does.
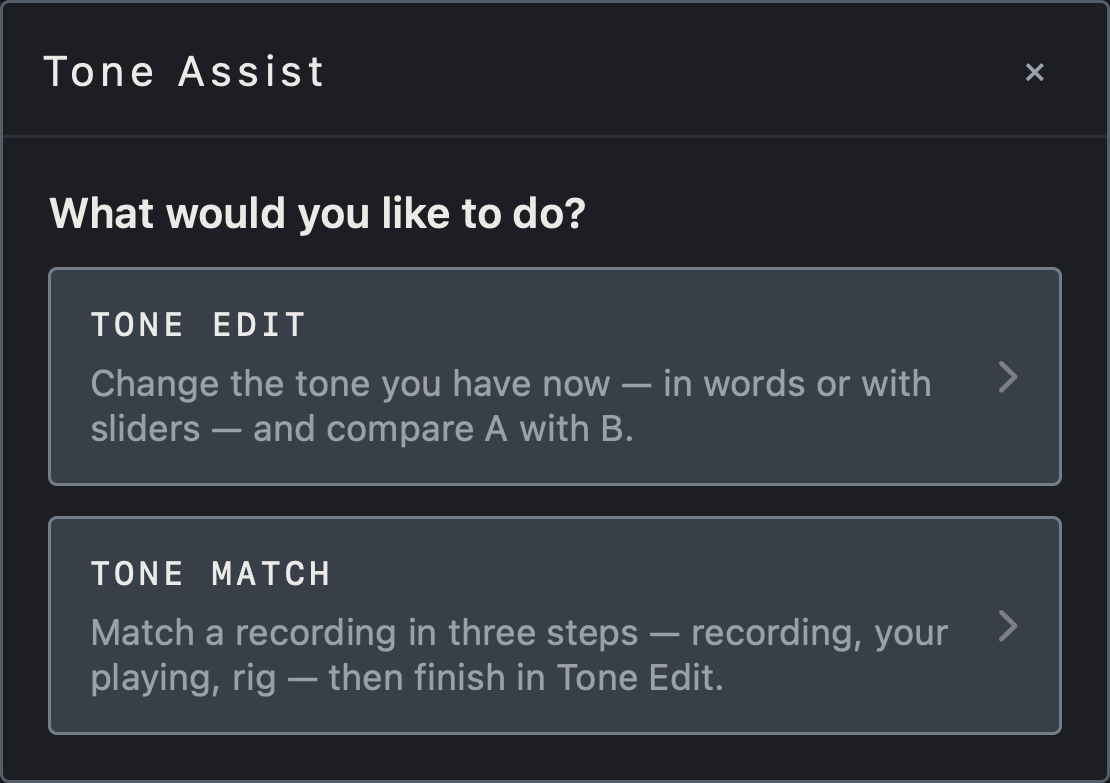
Find it on screen
- Choose TONE EDIT or TONE MATCH in the Tone Assist window.
- The line under each card says what that task does.
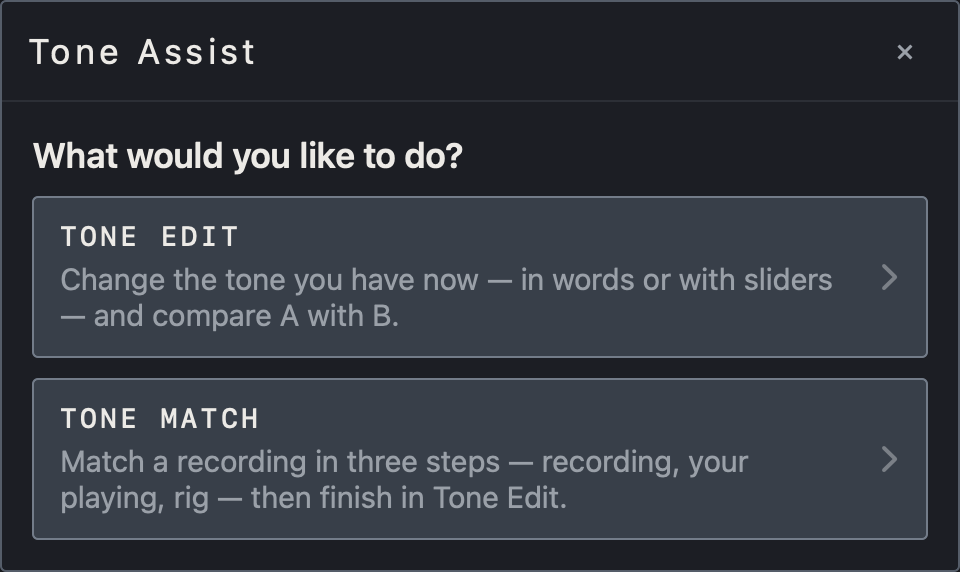
Find it on screen
- Choose TONE EDIT or TONE MATCH in the Tone Assist window.
- The line under each card says what that task does.
Change a tone with Tone Edit
- At the top left of the Tone Edit window, type the change you want or pick an example, then tap Go. For example: cut through the band more.
- Or move the Blurred–Clear, Dark–Bright, Clean–Gain, Dry–Space, Thin–Thick, Narrow–Wide and Soft–Punch sliders yourself. The sliders follow what you write. Double-tap a slider to return it to 0.
- Suggestions appear on the right; the top one marked AUTO is the automatic pick. Tap another suggestion to try it.
- CHANGES shows what changes and by how much. Tap a value to fine-tune it in place.
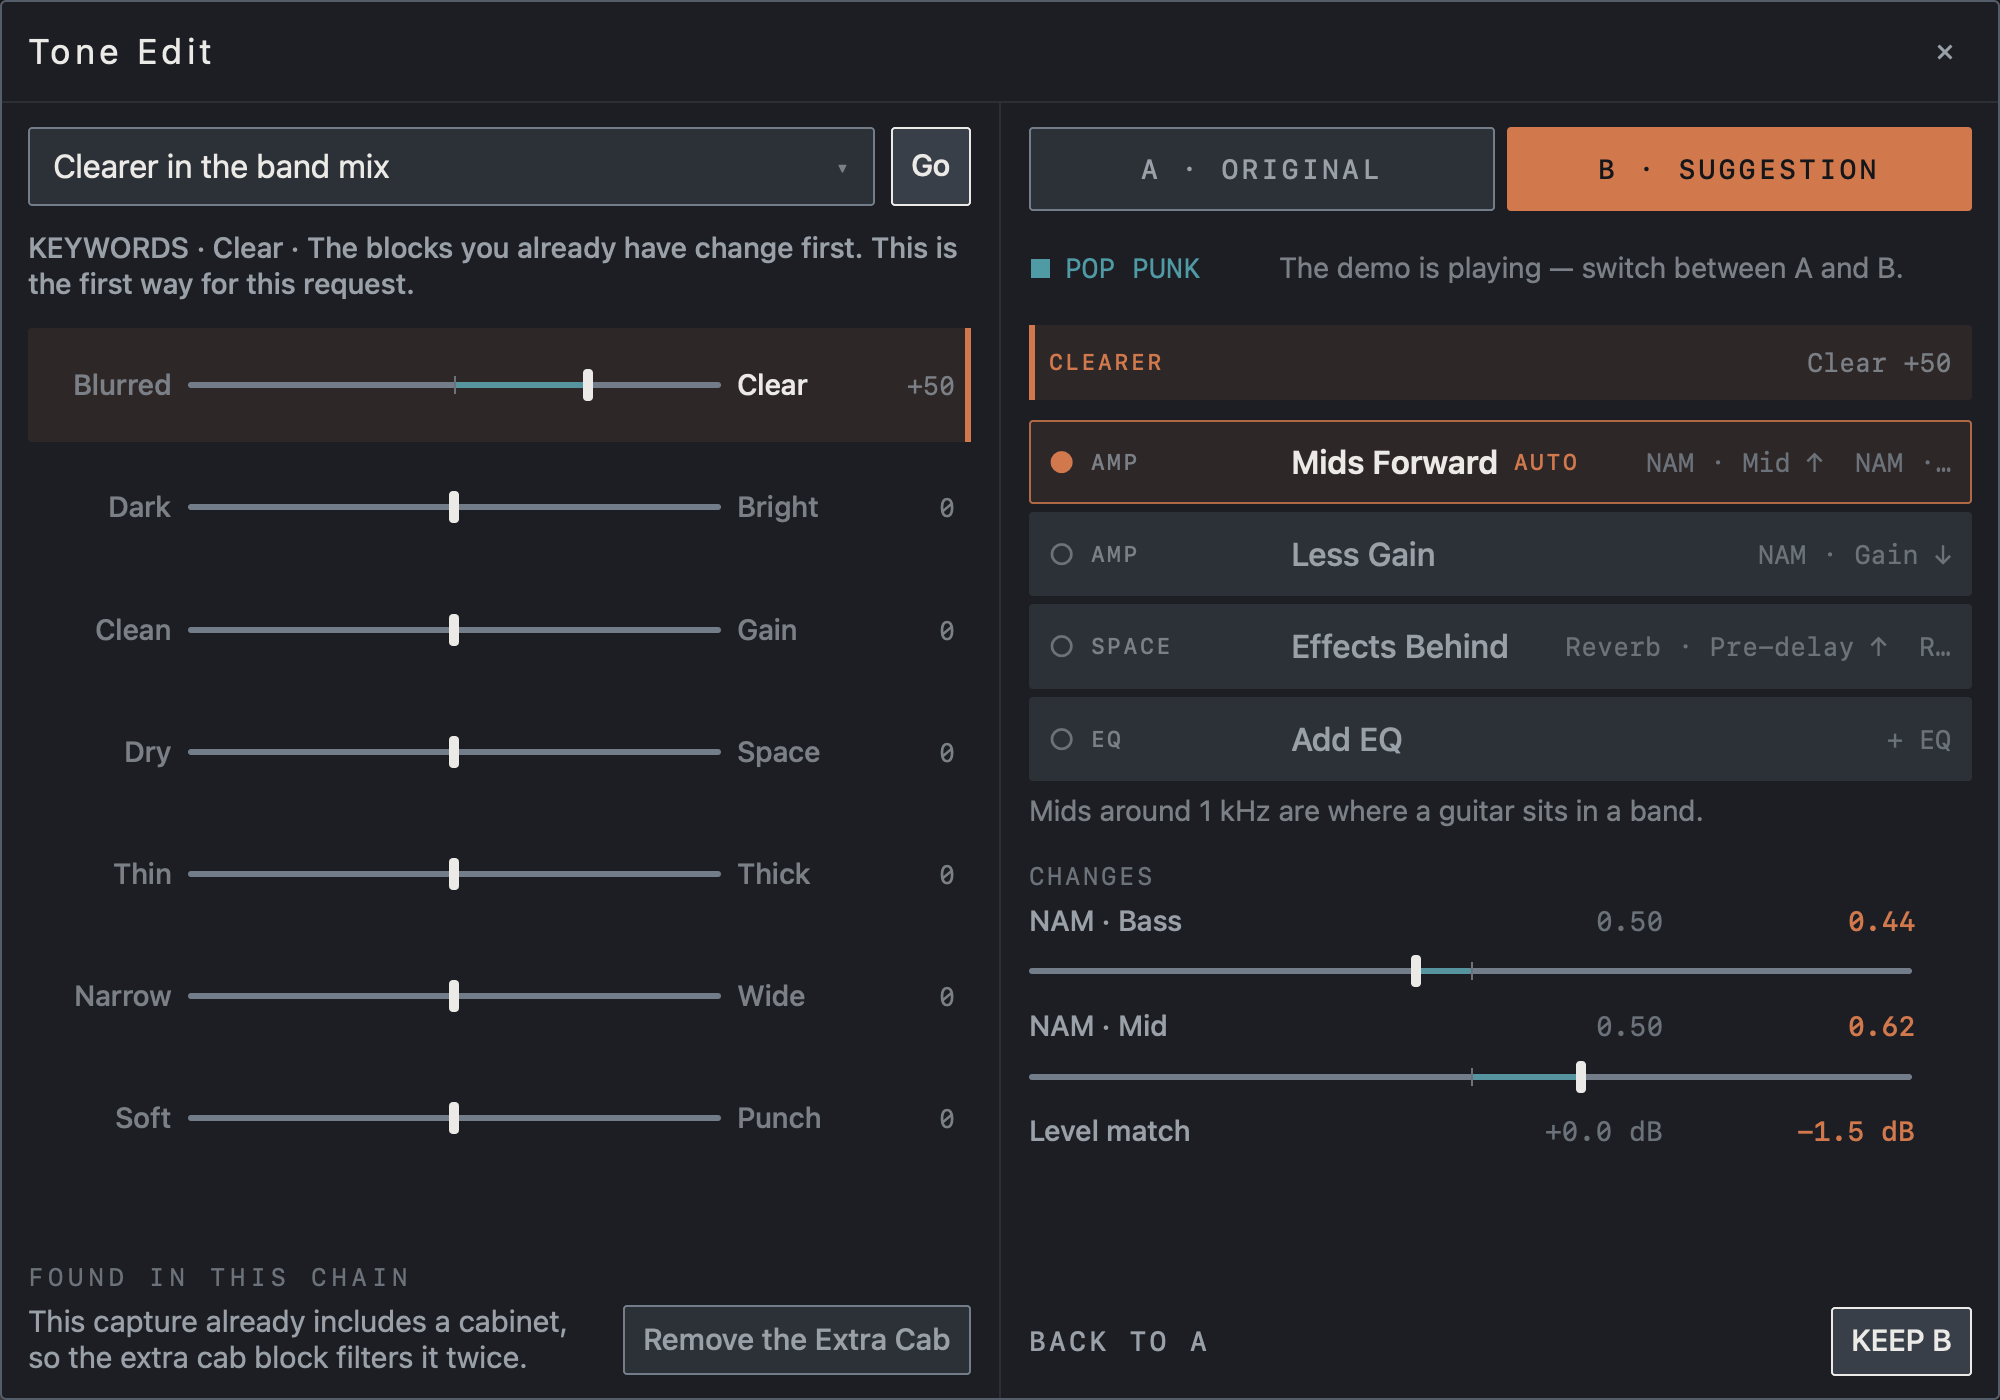
Find it on screen
- Type or pick a request in the top-left field and tap Go. Of the sliders below, Blurred–Clear has moved to +50.
- The list on the right holds the suggestions; Mids Forward marked AUTO is the automatic pick, and the sentence below explains why.
- CHANGES shows each value before and after. In this example the NAM block’s Bass and Mid change.
- FOUND IN THIS CHAIN at the bottom left shows a problem found in the chain with a button to fix it.
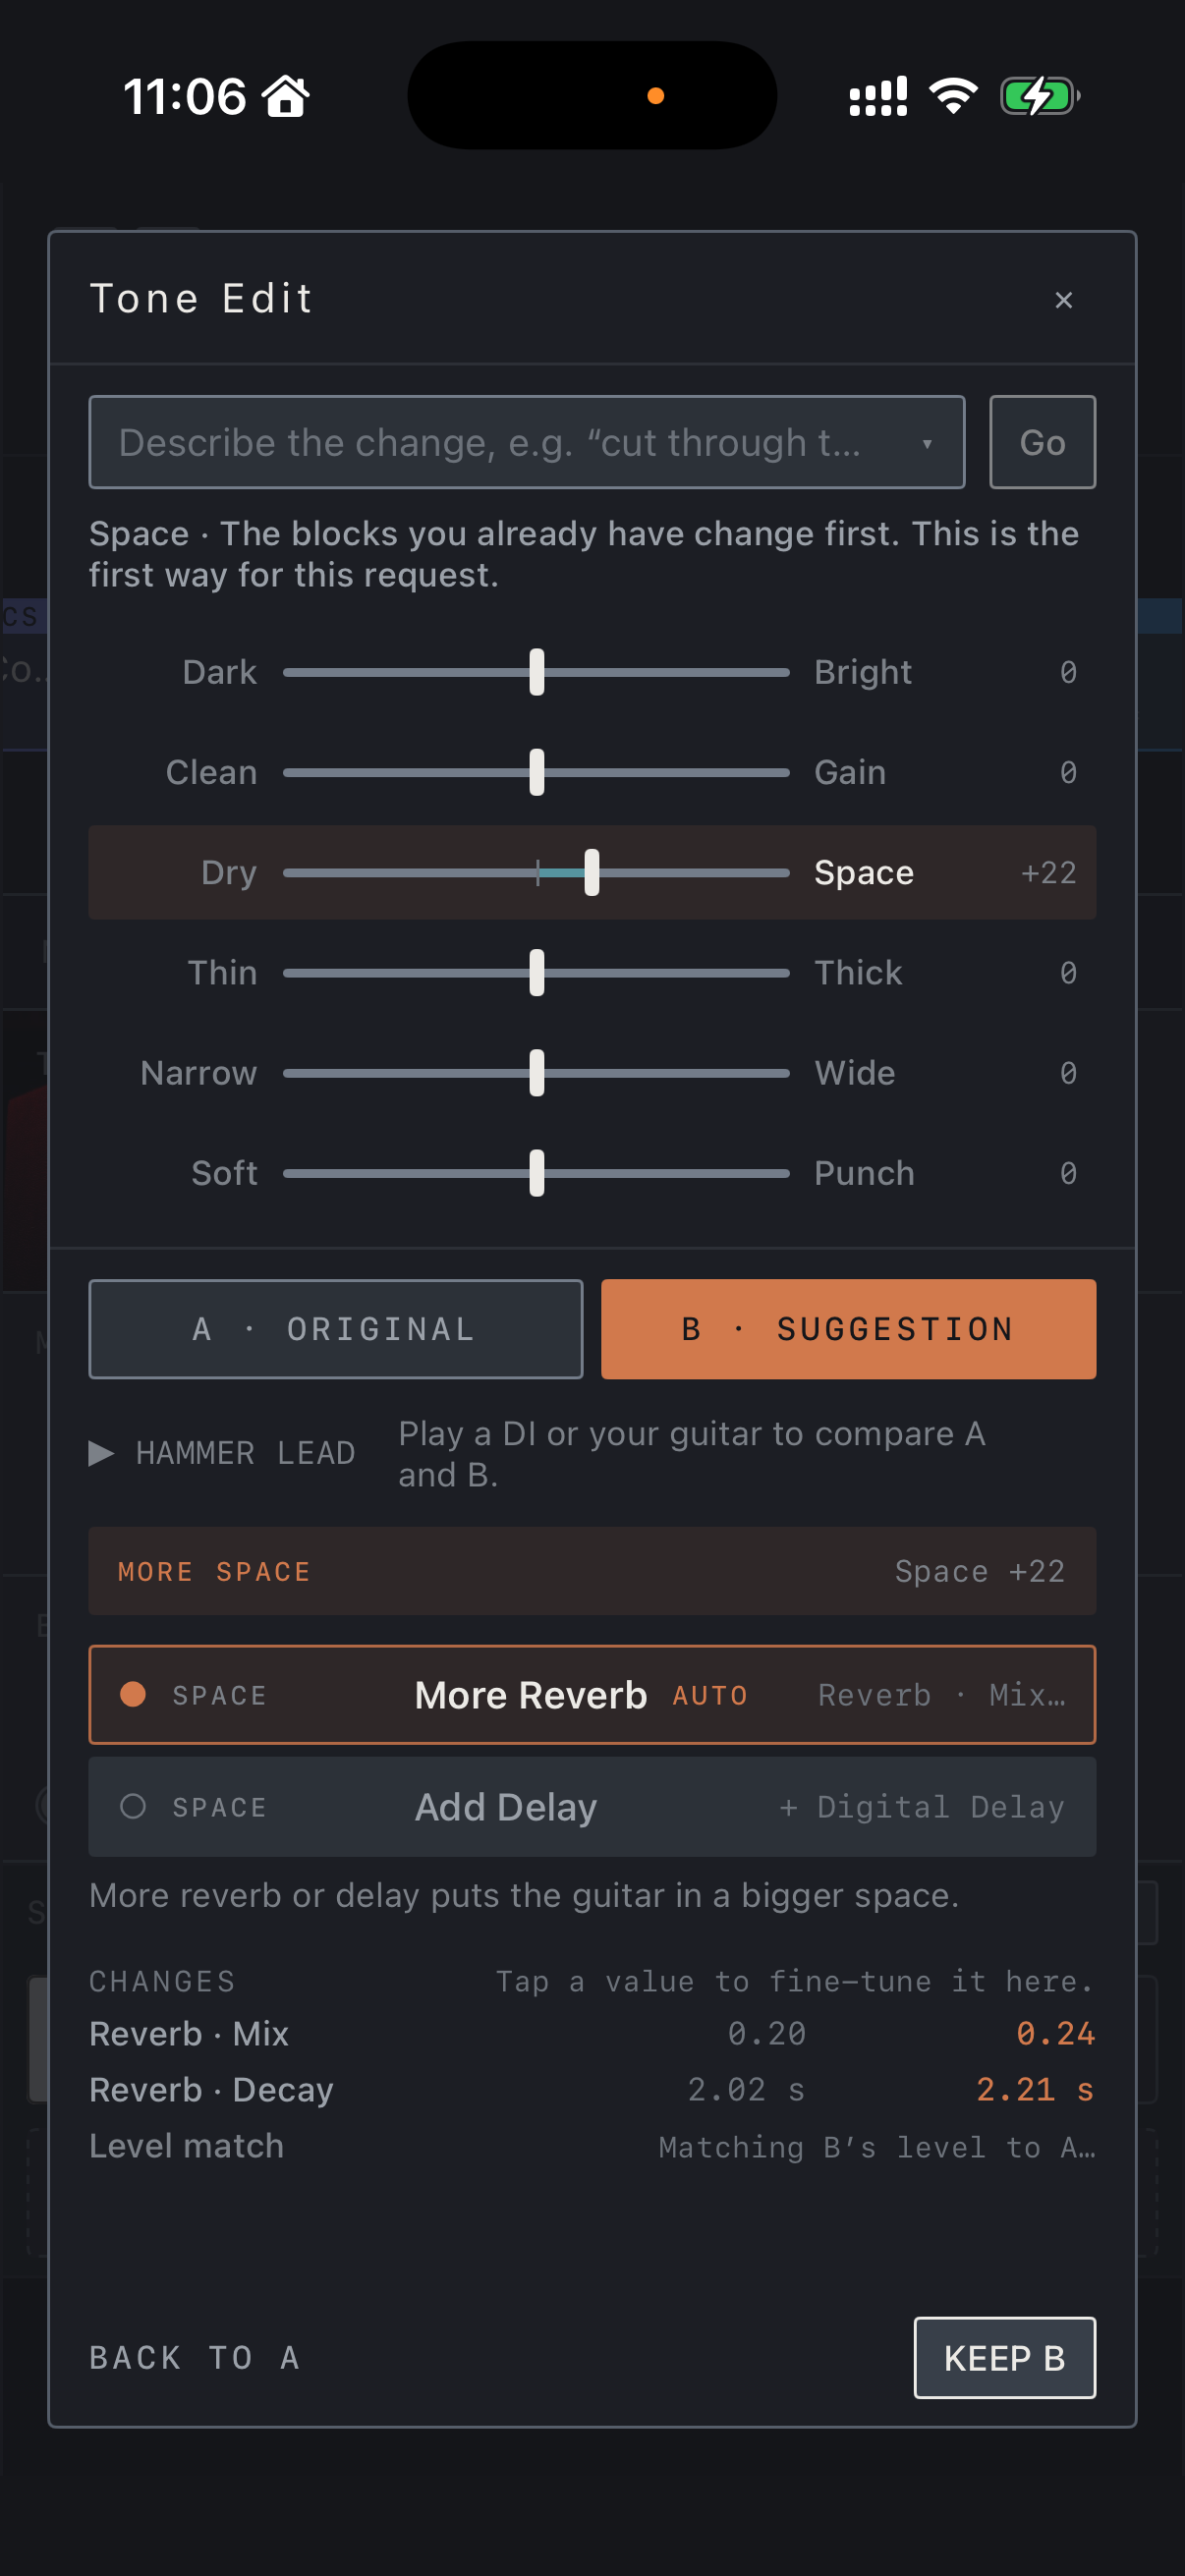
Find it on screen
- Type or pick a request in the field at the top and tap Go. Of the sliders below, Dry–Space has moved to +22.
- The suggestions are listed below the A and B buttons; More Reverb marked AUTO is the automatic pick, and the sentence below explains why.
- CHANGES shows each value before and after. In this example the Reverb block’s Mix and Decay change.
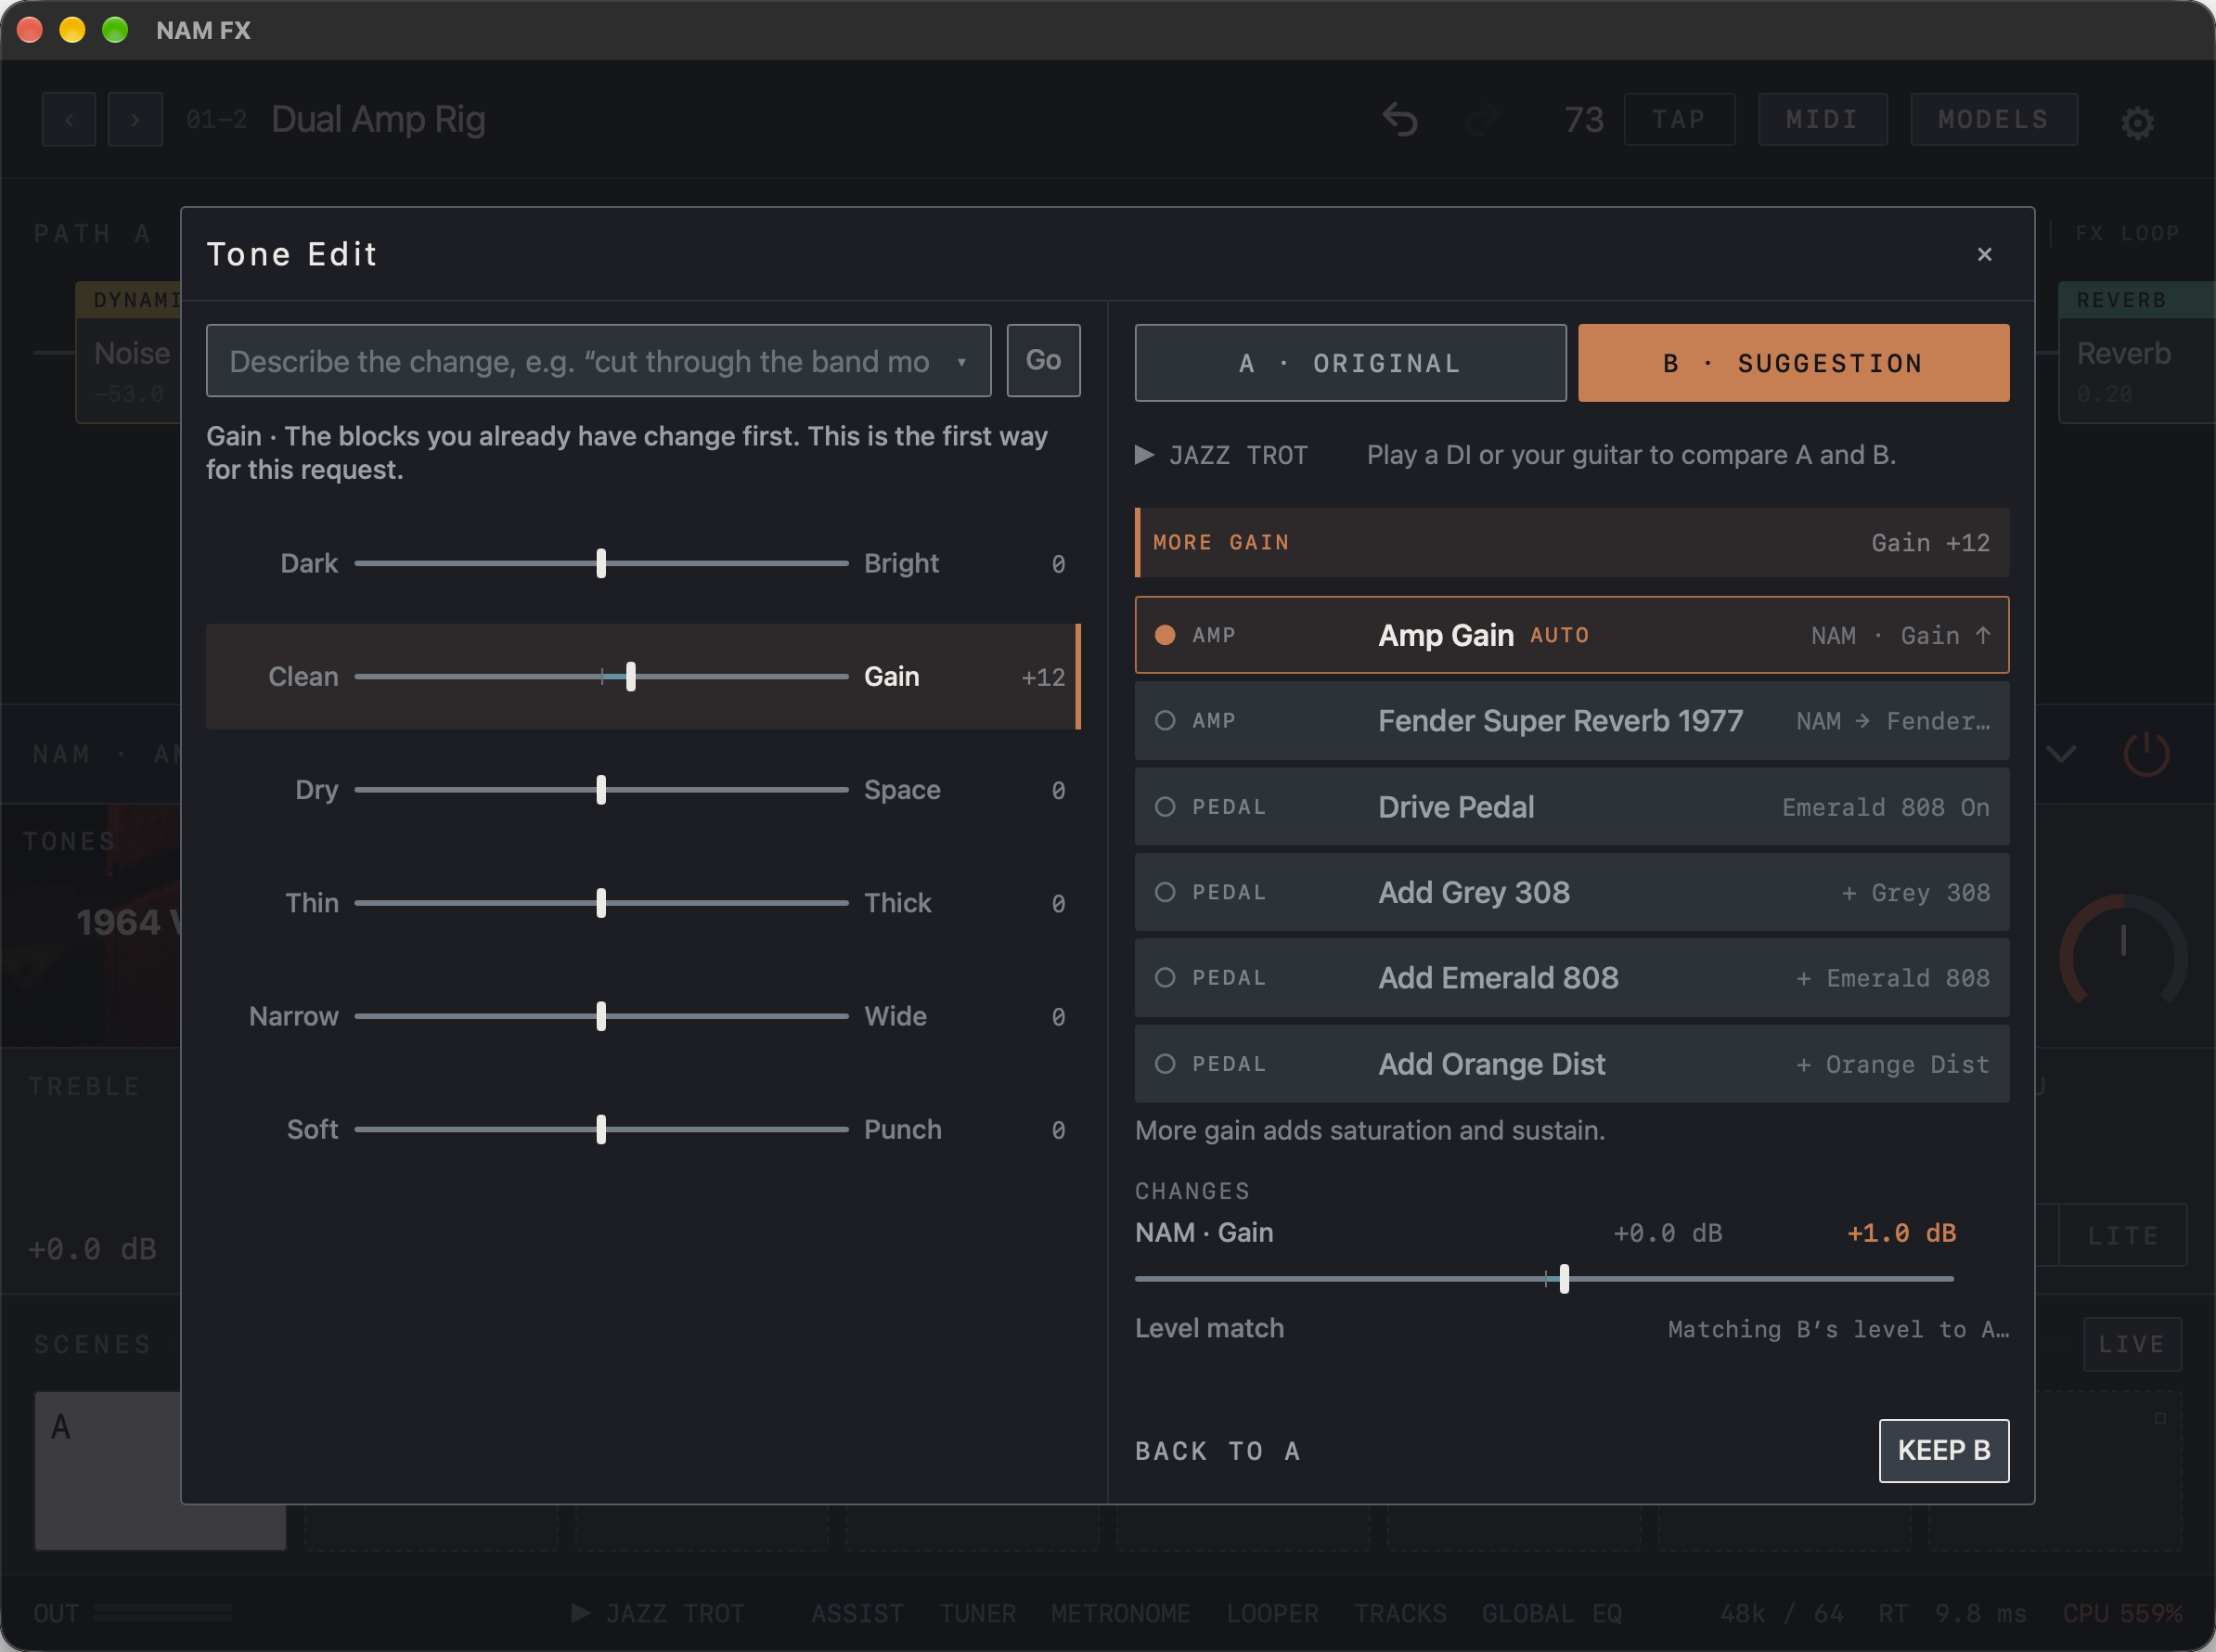
Find it on screen
- Type or pick a request in the top-left field and click Go. Of the sliders below, Clean–Gain has moved to +12.
- The list on the right holds the suggestions; Amp Gain marked AUTO is the automatic pick, and the sentence below explains why.
- CHANGES shows each value before and after. In this example the NAM block’s Gain goes from +0.0 dB to +1.0 dB.
Compare A/B and keep
Play the same phrase or use a repeating demo DI while switching between A · ORIGINAL and B · SUGGESTION. NAM FX matches B’s level to A and shows the adjustment in Level match. Matching with live input is approximate. A suggestion that changes captures can take a moment to load. Use KEEP B to apply the suggestion, or BACK TO A to return to the original.
Caution Use SAVE on the preset to keep the changes.
Find it on screen
- Tap A · ORIGINAL and B · SUGGESTION at the top to switch between them. B is selected here.
- The Level match row is the correction applied to bring B’s level to A’s.
- KEEP B at the bottom applies the change; BACK TO A returns to the original tone.
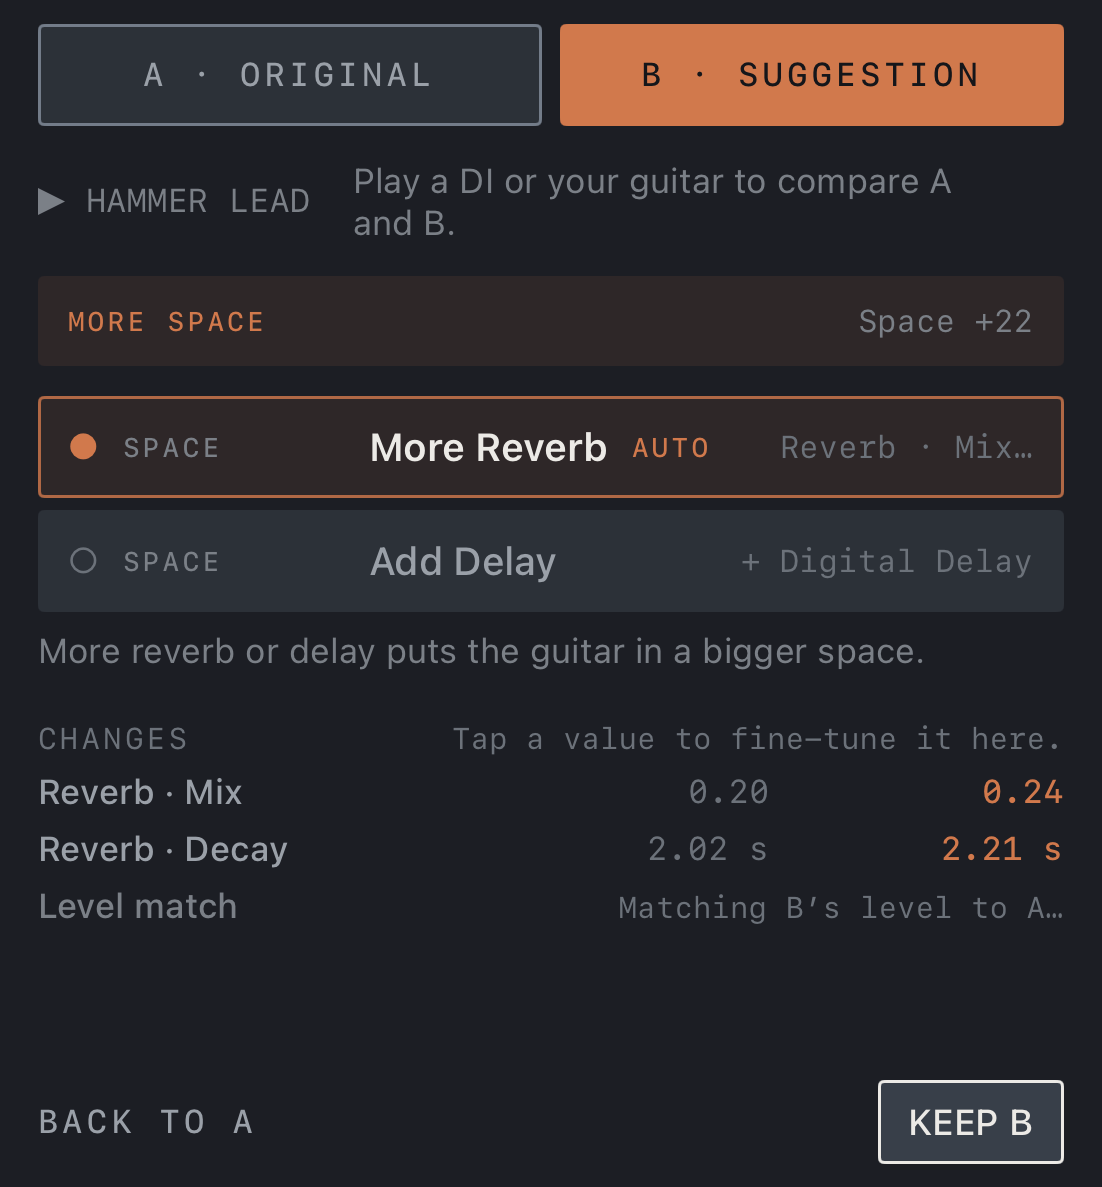
Find it on screen
- Tap A · ORIGINAL and B · SUGGESTION to switch between them. B is selected here.
- The Level match row shows the correction that brings B’s level to A’s.
- KEEP B at the bottom applies the change; BACK TO A returns to the original tone.
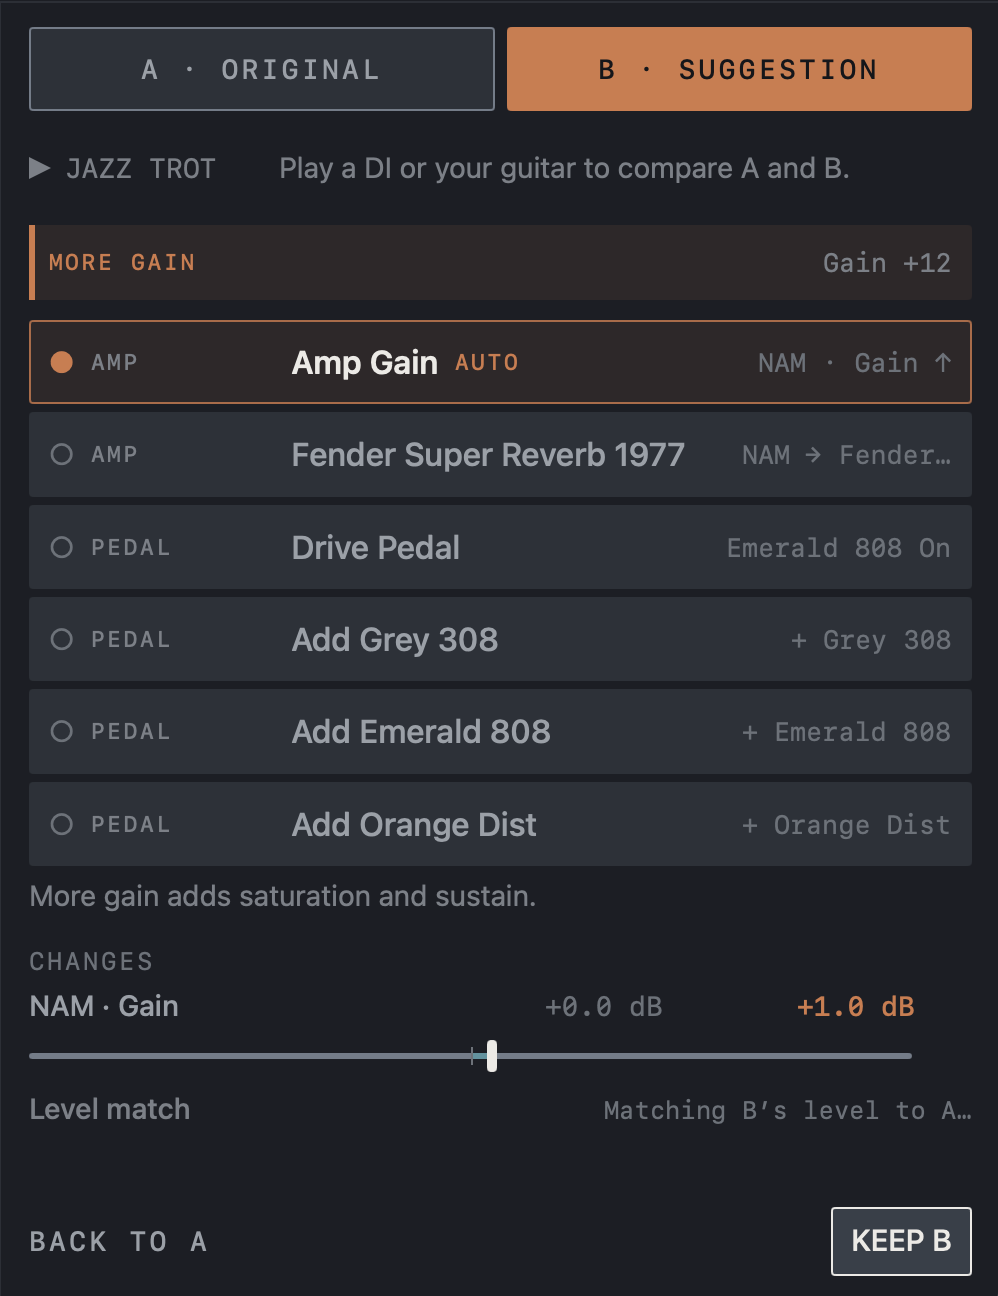
Find it on screen
- Tap A · ORIGINAL and B · SUGGESTION to switch between them. B is selected here.
- The Level match row shows the correction that brings B’s level to A’s.
- KEEP B at the bottom applies the change; BACK TO A returns to the original tone.
Match a recording with Tone Match
- When you start Tone Match, it asks whether to match in a new preset. Caution Tone Match changes the amp and its tone, so starting in a new preset keeps the current one as it is.
- RECORDING: choose the recording whose tone you want. It needs at least 5 seconds of guitar.
- YOUR PLAYING: tap Record and play for about 6 seconds, close to what is in the recording.
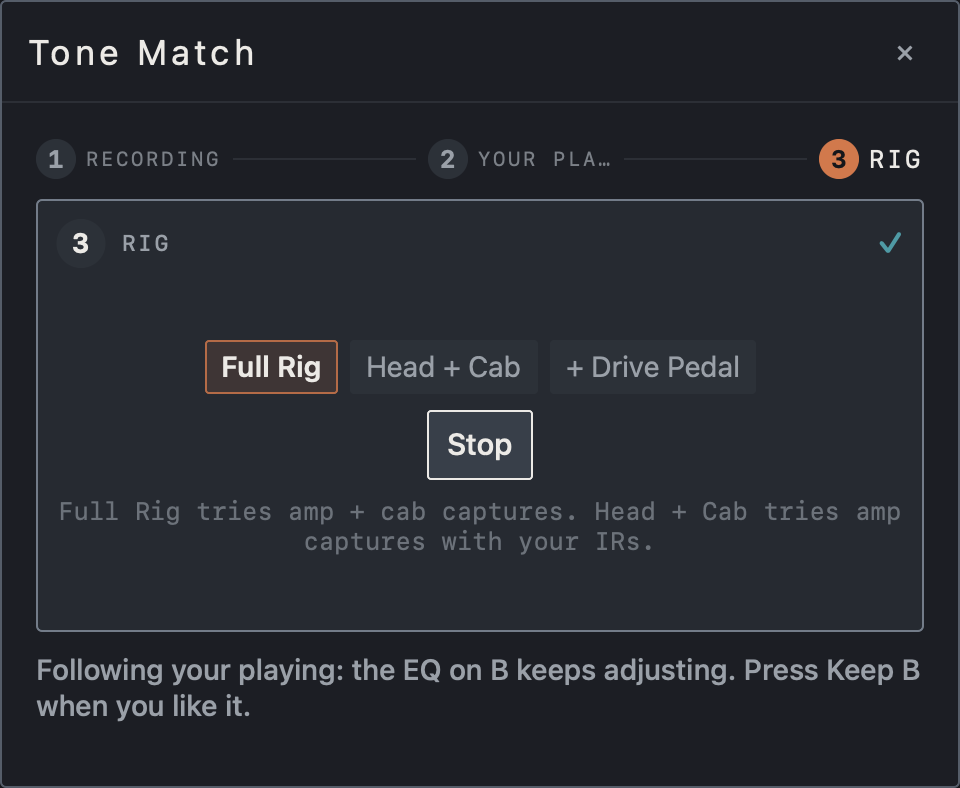
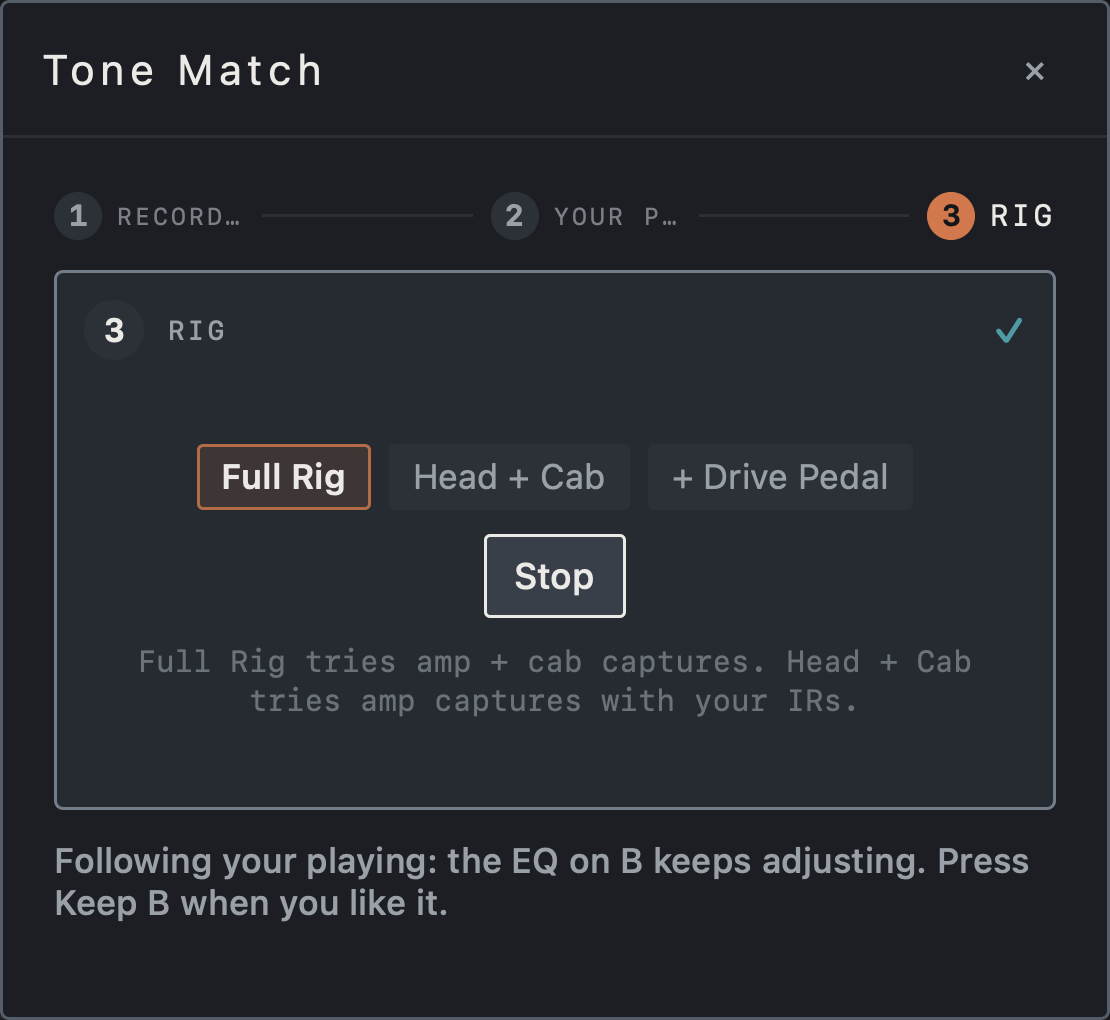
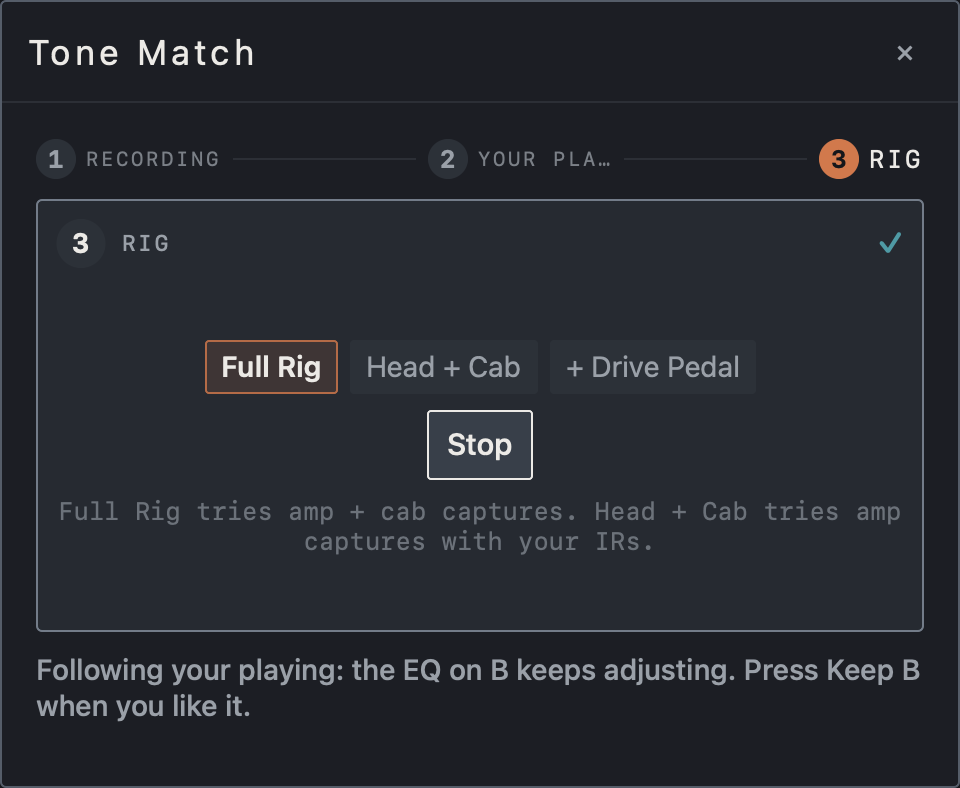
- RIG: choose Full Rig (amp + cab captures) or Head + Cab (amp captures with your IRs), add + Drive Pedal if needed, then tap Match. You can change the rig as often as you like without playing again.
- The app compares the captures in your library, loads the closest one on B and covers the remaining difference with EQ. Keep playing and the EQ on B keeps adjusting; tap Keep B when you like it.
Find it on screen
- 1 RECORDING, 2 YOUR PLAYING and 3 RIG at the top are the three steps. This screen is step 3.
- Choose the rig from Full Rig, Head + Cab and + Drive Pedal. The sentence below explains the two rigs.
- The note at the bottom says the EQ on B keeps following your playing, and to press Keep B when you like it.
Find it on screen
- 1 RECORDING, 2 YOUR PLAYING and 3 RIG at the top are the three steps. This screen is step 3.
- Choose the rig from Full Rig, Head + Cab and + Drive Pedal. The sentence below explains the two rigs.
- The note at the bottom says the EQ on B keeps following your playing, and to press Keep B when you like it.
Find it on screen
- 1 RECORDING, 2 YOUR PLAYING and 3 RIG at the top are the three steps. This screen is step 3.
- Choose the rig from Full Rig, Head + Cab and + Drive Pedal. The sentence below explains the two rigs.
- The note at the bottom says the EQ on B keeps following your playing, and to press Keep B when you like it.
Getting a good match
Tone Match chooses among the captures and IRs in this device’s library. When nothing is close it says so; import more captures of a similar character and match again.
Note An isolated guitar track works best: with a full mix the EQ chases the bass and drums.
Written requests are understood by keywords, in English and Korean. On devices where Apple Intelligence is available, on-device AI helps interpret them; About › Tone Assist in Settings shows which method is in use.