Add songs and play
- Tap TRACKS in the bottom bar to open the BACKING TRACKS window.
- Tap + ADD SONGS and choose audio files in Files. You can add several at once; songs are copied into the app.
- Pick a song under SONGS on the left and play it with ▶. ❚❚ pauses, ■ stops and returns to the start, and |◀ goes back to the start.
- Tap or drag on the waveform to move to another position.
- Set the backing level with LEVEL. The meter beside it shows the backing track only.
- EDIT beside SONGS lets you reorder or delete songs. Note The track keeps playing when you close the window.
iPhone On iPhone, pick a song from the Songs menu; there is no SONGS list on the left.
Find it on screen
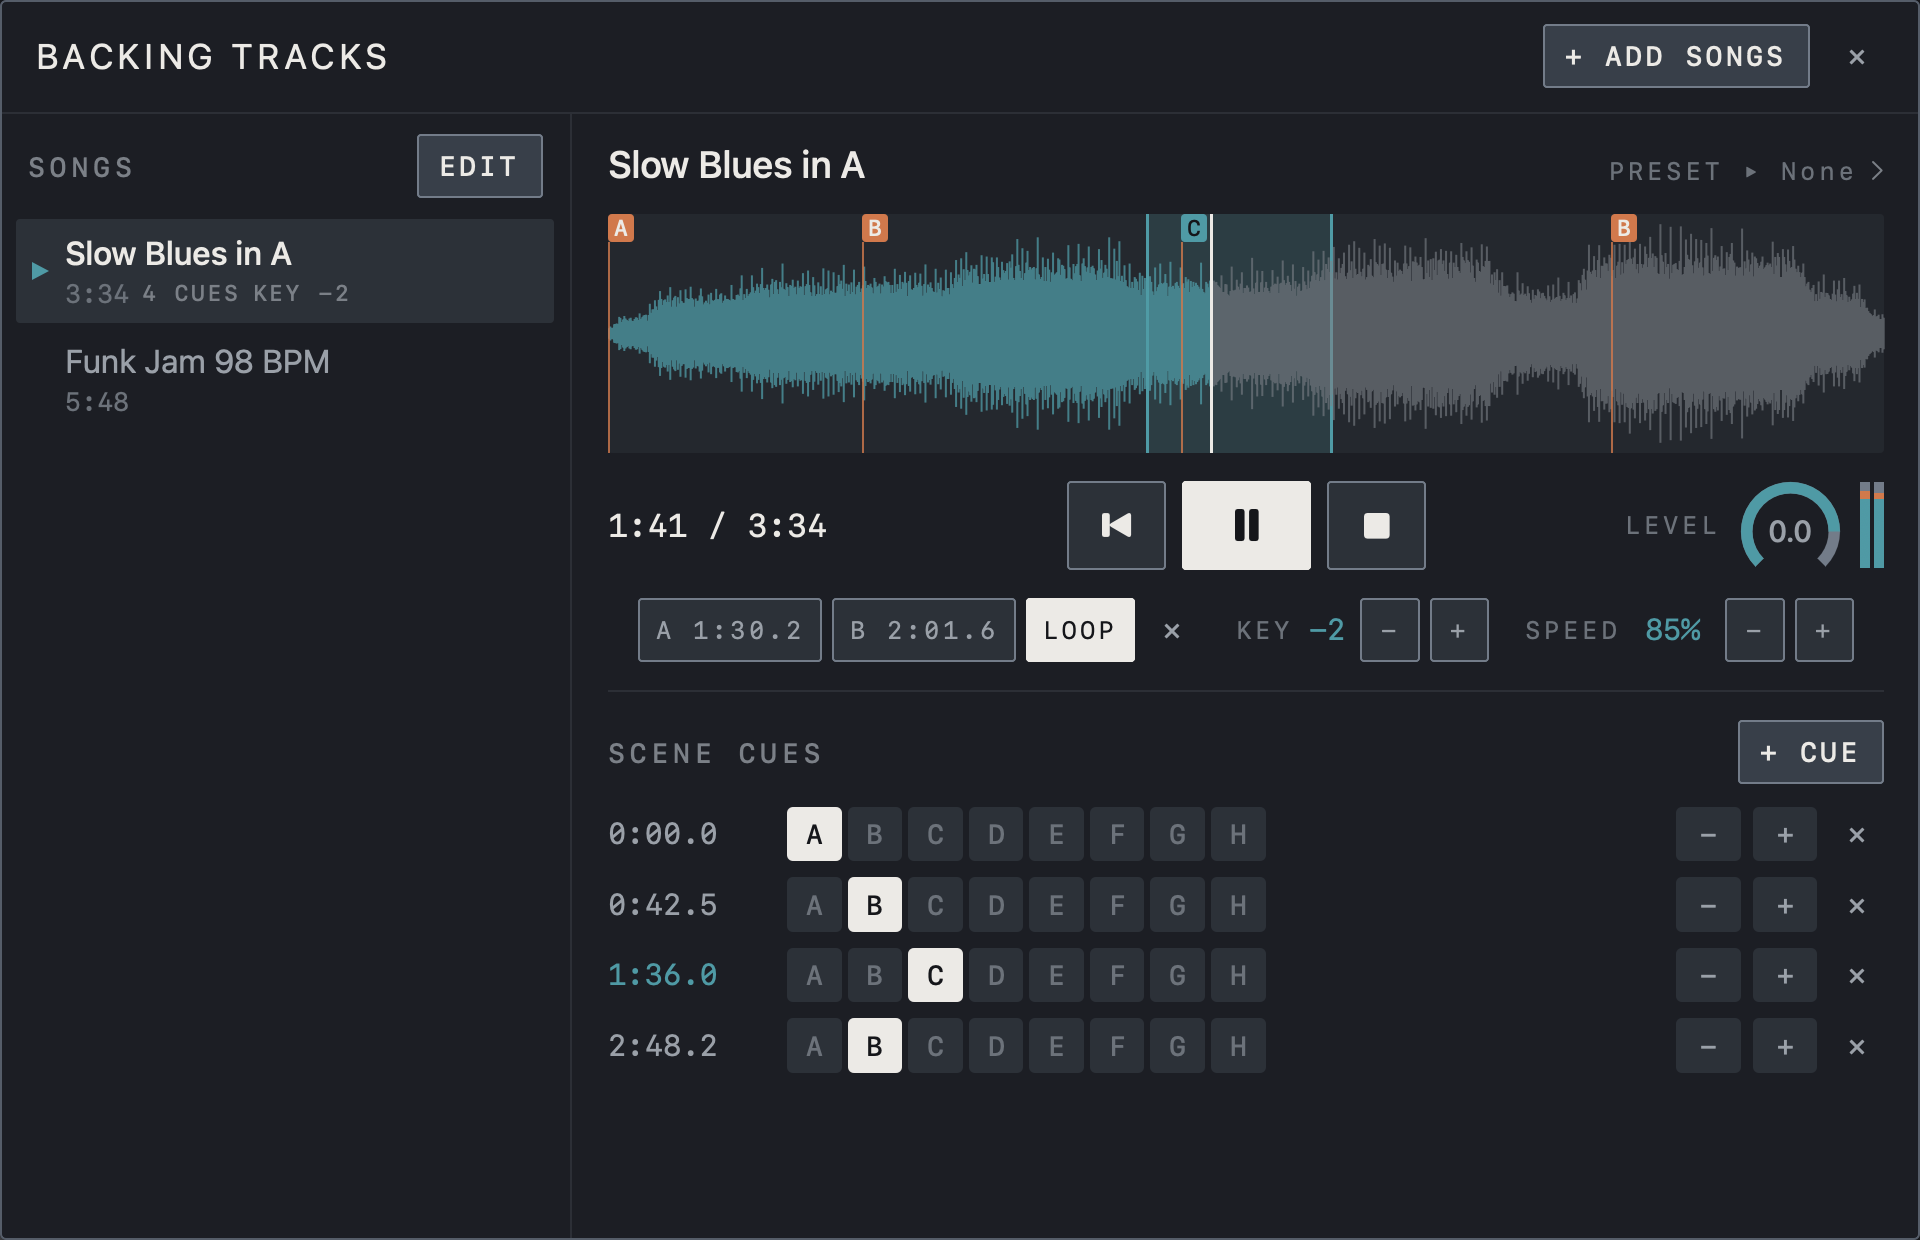
- Pick a song under SONGS on the left. Its length, number of cues and transposed KEY are shown under the name.
- Below the waveform are the position / song length, the back-to-start, pause and stop buttons, and LEVEL.
- Add songs with + ADD SONGS at the top right, and tidy the list with EDIT beside SONGS.
Find it on screen
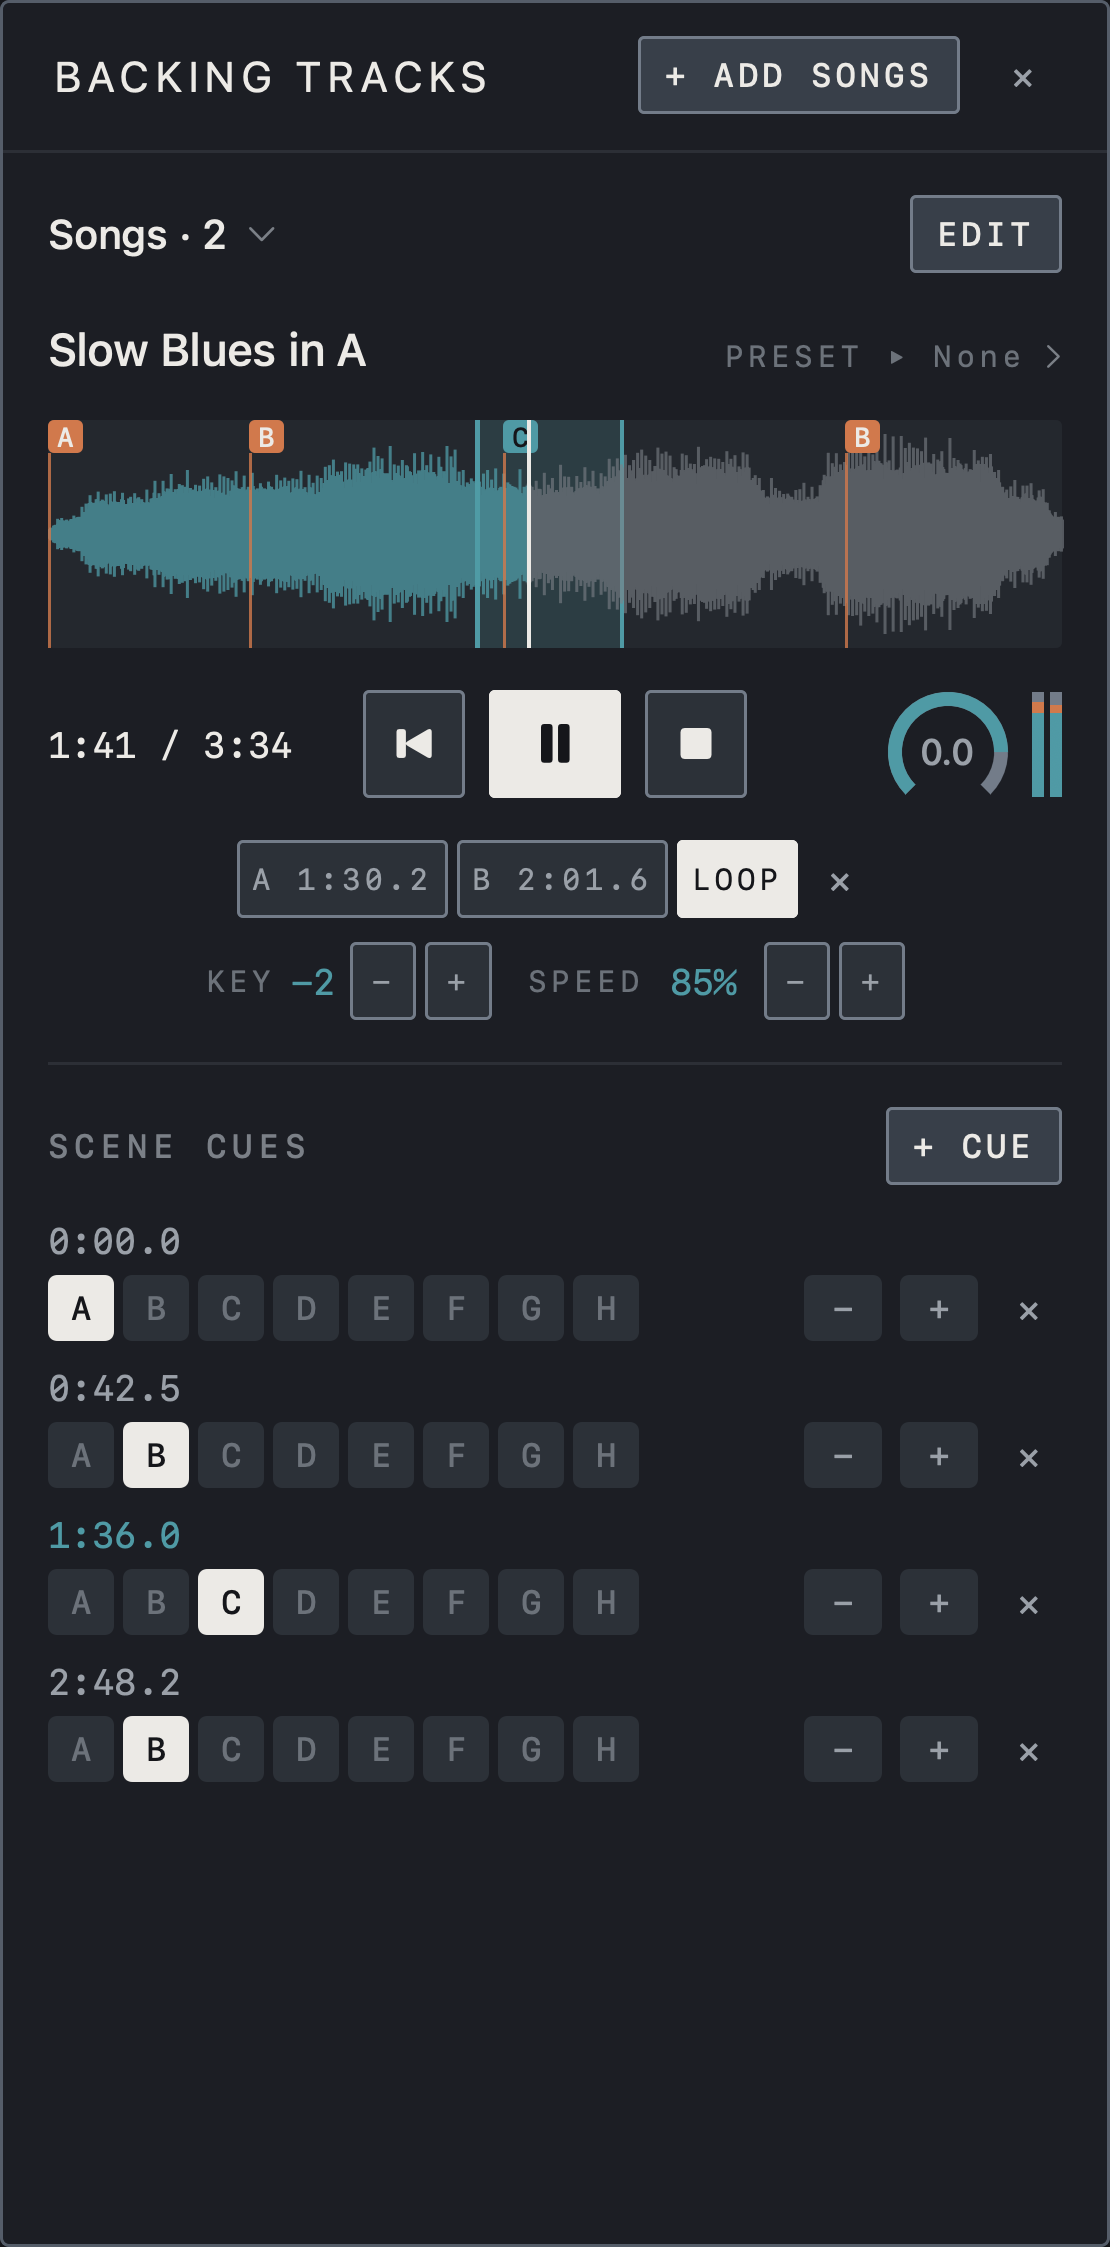
- On iPhone the song list folds into the Songs menu. Tap it to pick a song.
- Below the waveform are the position / song length, the back-to-start, pause and stop buttons, and LEVEL.
- Add songs with + ADD SONGS at the top right and tidy the list with EDIT.
Find it on screen
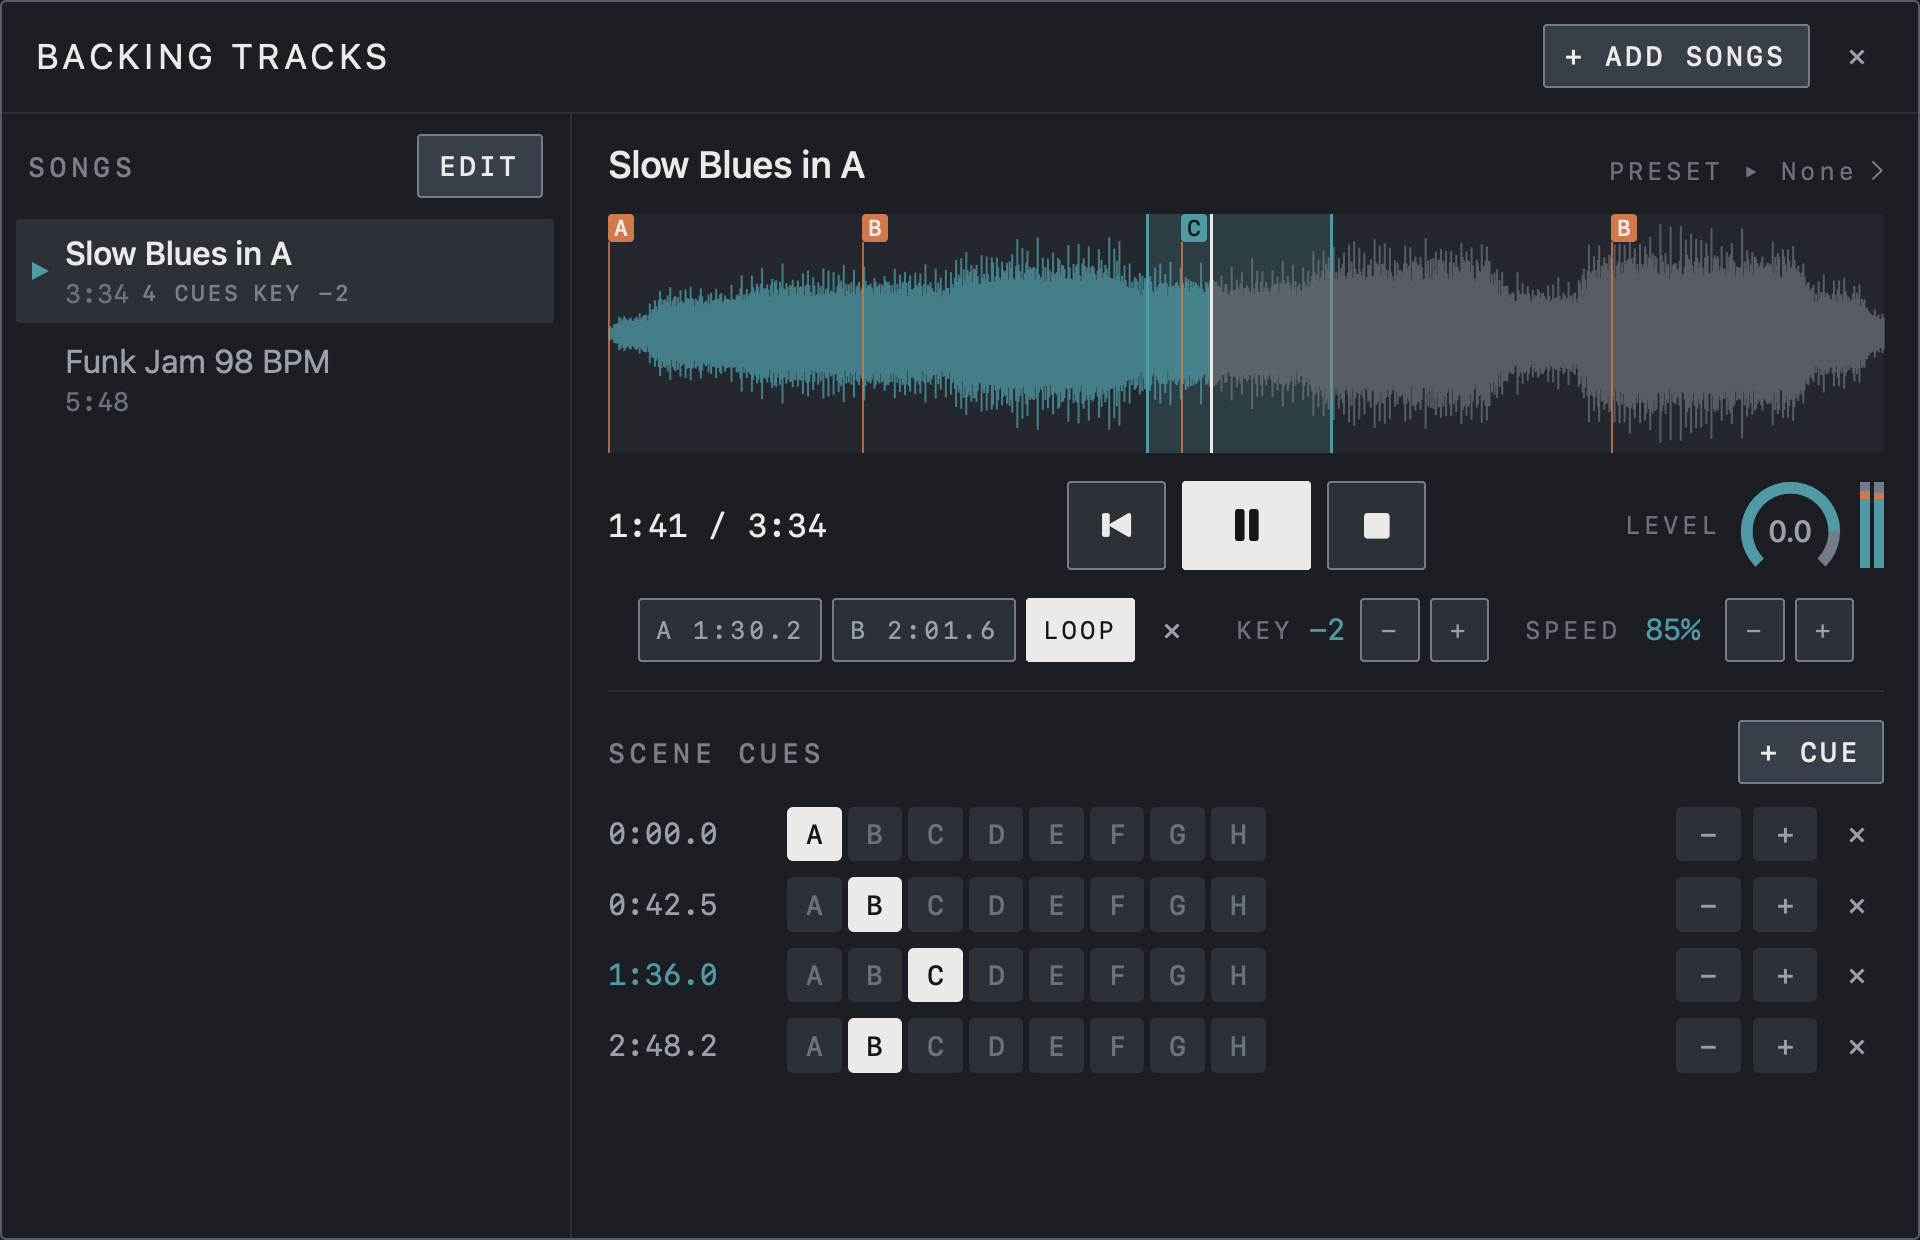
- Pick a song under SONGS on the left. Its length, number of cues and transposed KEY are shown under the name.
- Below the waveform are the position / song length, the back-to-start, pause and stop buttons, and LEVEL.
- Add songs with + ADD SONGS at the top right, and tidy the list with EDIT beside SONGS.
A–B loop, KEY and SPEED
Set A at the start of the passage and B at the end, then turn on LOOP. Use ✕ to clear the points. KEY transposes the track up or down by up to six semitones without changing playback speed. KEY is stored with the song. SPEED changes playback to 50–125% without changing pitch and resets to 100% when you select another song.
Note Tap a displayed value to reset KEY to the original pitch or SPEED to 100%.
Find it on screen
- The A and B buttons show the section’s start and end times; with LOOP on, that section repeats. ✕ clears it.
- KEY −2 means two semitones down and SPEED 85% means slowed playback. Change each with − and +.
Find it on screen
- The A and B buttons show the section’s start and end times; with LOOP on, that section repeats. ✕ clears it.
- KEY −2 means two semitones down and SPEED 85% means slowed playback. Change each with − and +.
Find it on screen
- The A and B buttons show the section’s start and end times; with LOOP on, that section repeats. ✕ clears it.
- KEY −2 means two semitones down and SPEED 85% means slowed playback. Change each with − and +.
Scene cues
Set up the song’s scenes in the editor and save the preset. Move the playhead to the desired change and press + CUE to create a cue. Use A–H on the cue to select the scene it recalls. Use − and + to move the cue in 0.1-second increments. Tap the timestamp to seek to it, or ✕ to delete it. The scene is recalled when playback crosses the cue. If you start mid-song, playback recalls the scene from the most recent cue at or before the playhead. Flags above the waveform show each cue’s position and scene.
Find it on screen
- Each row under SCENE CUES is a cue time and the scene (A–H) it recalls. The highlighted letter is the chosen scene.
- + CUE adds a cue at the current position; − and + at the end of a row move it earlier or later, and ✕ removes it.
- The blue 1:36.0 is the cue in effect at the current position (1:41).
Find it on screen
- Each row under SCENE CUES is a cue time and the scene (A–H) it recalls. The highlighted letter is the chosen scene.
- + CUE adds a cue at the current position; − and + at the end of a row move it earlier or later, and ✕ removes it.
- The blue 1:36.0 is the cue in effect at the current position (1:41).
Find it on screen
- Each row under SCENE CUES is a cue time and the scene (A–H) it recalls. The highlighted letter is the chosen scene.
- + CUE adds a cue at the current position; − and + at the end of a row move it earlier or later, and ✕ removes it.
- The blue 1:36.0 is the cue in effect at the current position (1:41).
Linked preset and output
Tap PRESET ▸ at the right of the song title and choose a bank and preset to link a preset to the song; picking the song then opens that preset too. None removes the link. Opening a preset does not change the song. Backing tracks play on the output pair chosen under Backing Track Output in Settings; on an interface with four or more outputs you can choose OUT 3/4 to send them to the PA separately from the guitar. With MR on under iCloud, songs and cues sync to your other devices together with their audio.
Caution Only add recordings you have the right to use.
Find it on screen
- PRESET ▸ None at the right of the song title means no preset is linked to this song. Tap it to choose one.
Find it on screen
- PRESET ▸ None at the right of the song title means no preset is linked to this song. Tap it to choose one.
Find it on screen
- PRESET ▸ None at the right of the song title means no preset is linked to this song. Tap it to choose one.