
Connect a controller
Connect a USB MIDI controller or connect a Bluetooth MIDI controller through the system. Open MIDI in the top bar and check the input ports and last message time in DEVICE. NAM FX receives on all channels of all connected ports (Omni). A single controller may expose several MIDI ports.
Note To check a wireless connection, press a footswitch and see whether the last message time updates.
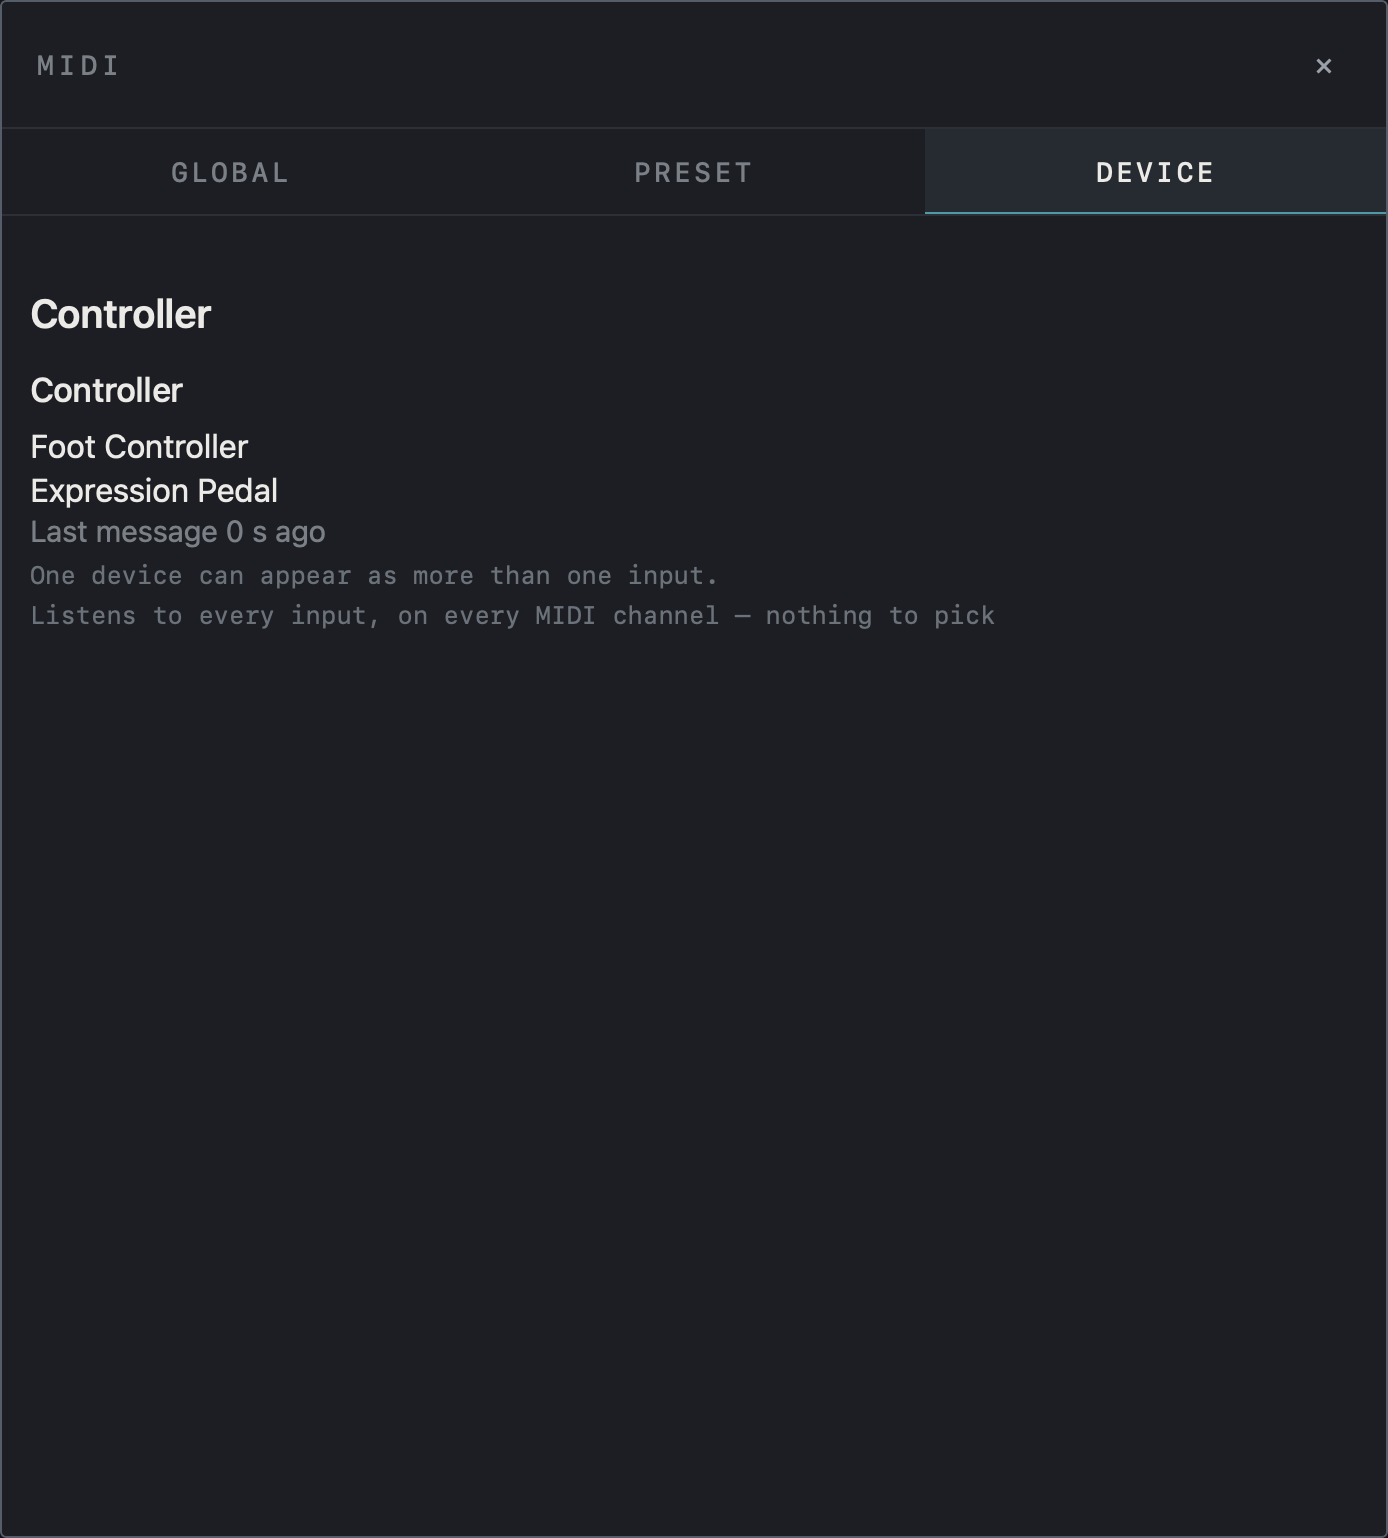
Find it on screen
- Under Controller in the DEVICE tab, check the connected MIDI input names and the time of the last message.
- As the note says, every input is heard on every MIDI channel, so there is nothing to pick.
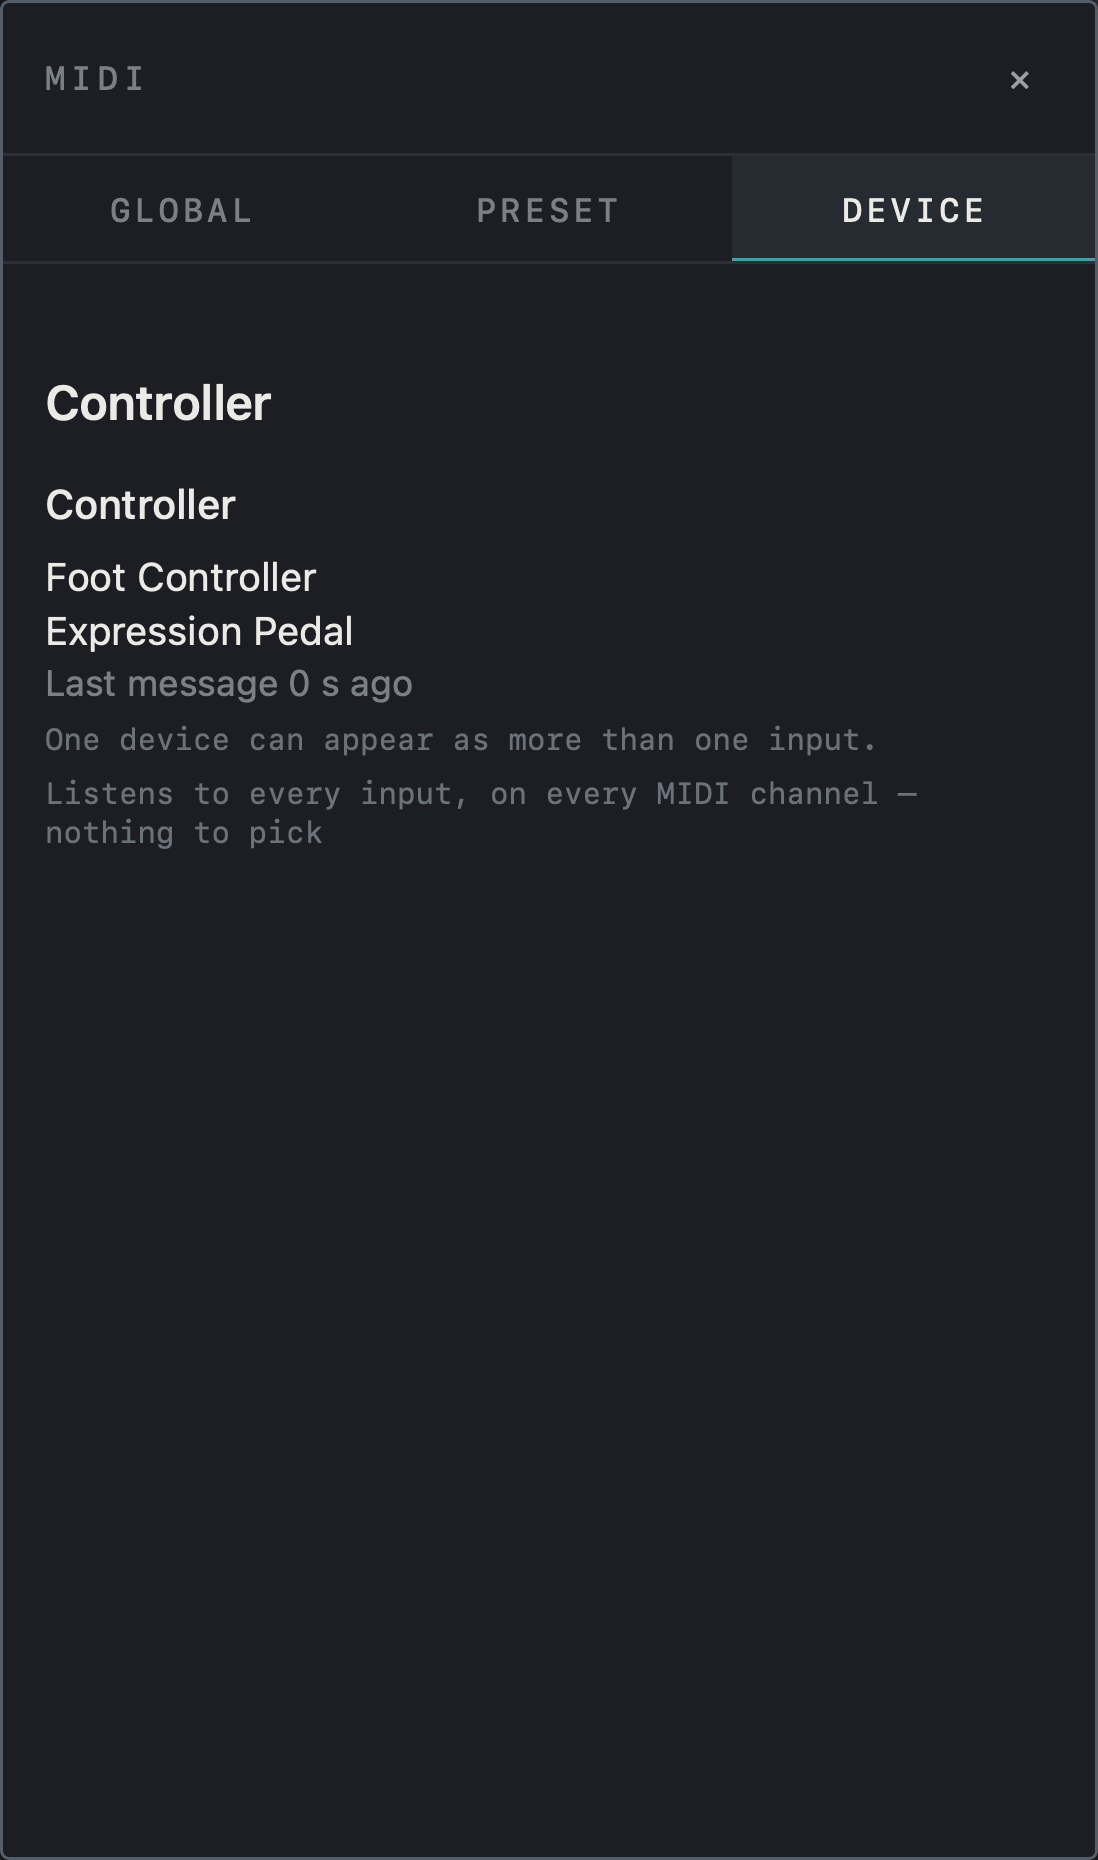
Find it on screen
- Under Controller in the DEVICE tab, check the connected MIDI input names and the time of the last message.
- As the note says, every input is heard on every MIDI channel, so there is nothing to pick.
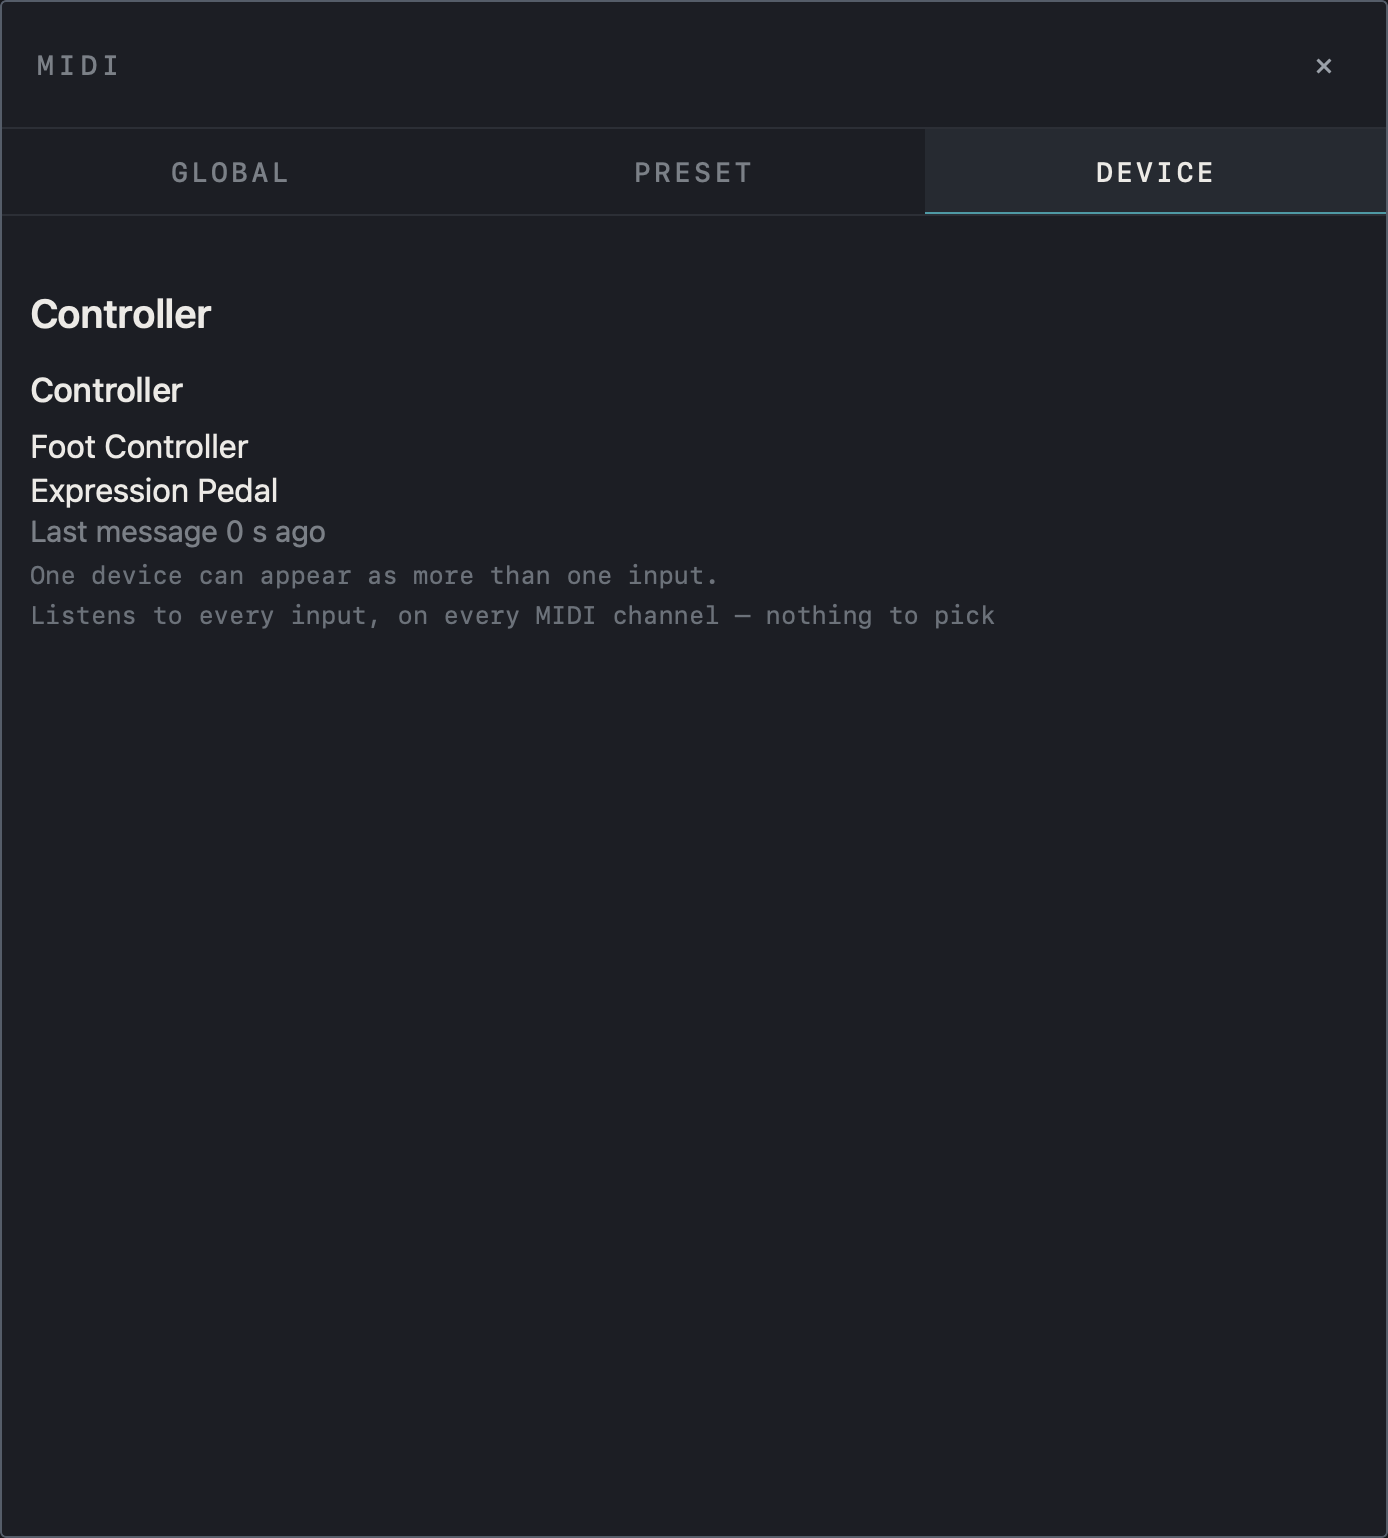
Find it on screen
- Under Controller in the DEVICE tab, check the connected MIDI input names and the time of the last message.
- As the note says, every input is heard on every MIDI channel, so there is nothing to pick.
Assign with LEARN
- Find the function under GLOBAL. Assignable functions include Tap Tempo, Tuner, preset and bank navigation, and scenes A–H.
- Tap LEARN on the function’s row.
- Press the footswitch or move the pedal you want to assign. The received MIDI CC number appears on the row.
- Functions labeled 64–127 respond to CC values in that range. Functions labeled any respond to every value.
- Tap ✕ to clear the assignment.
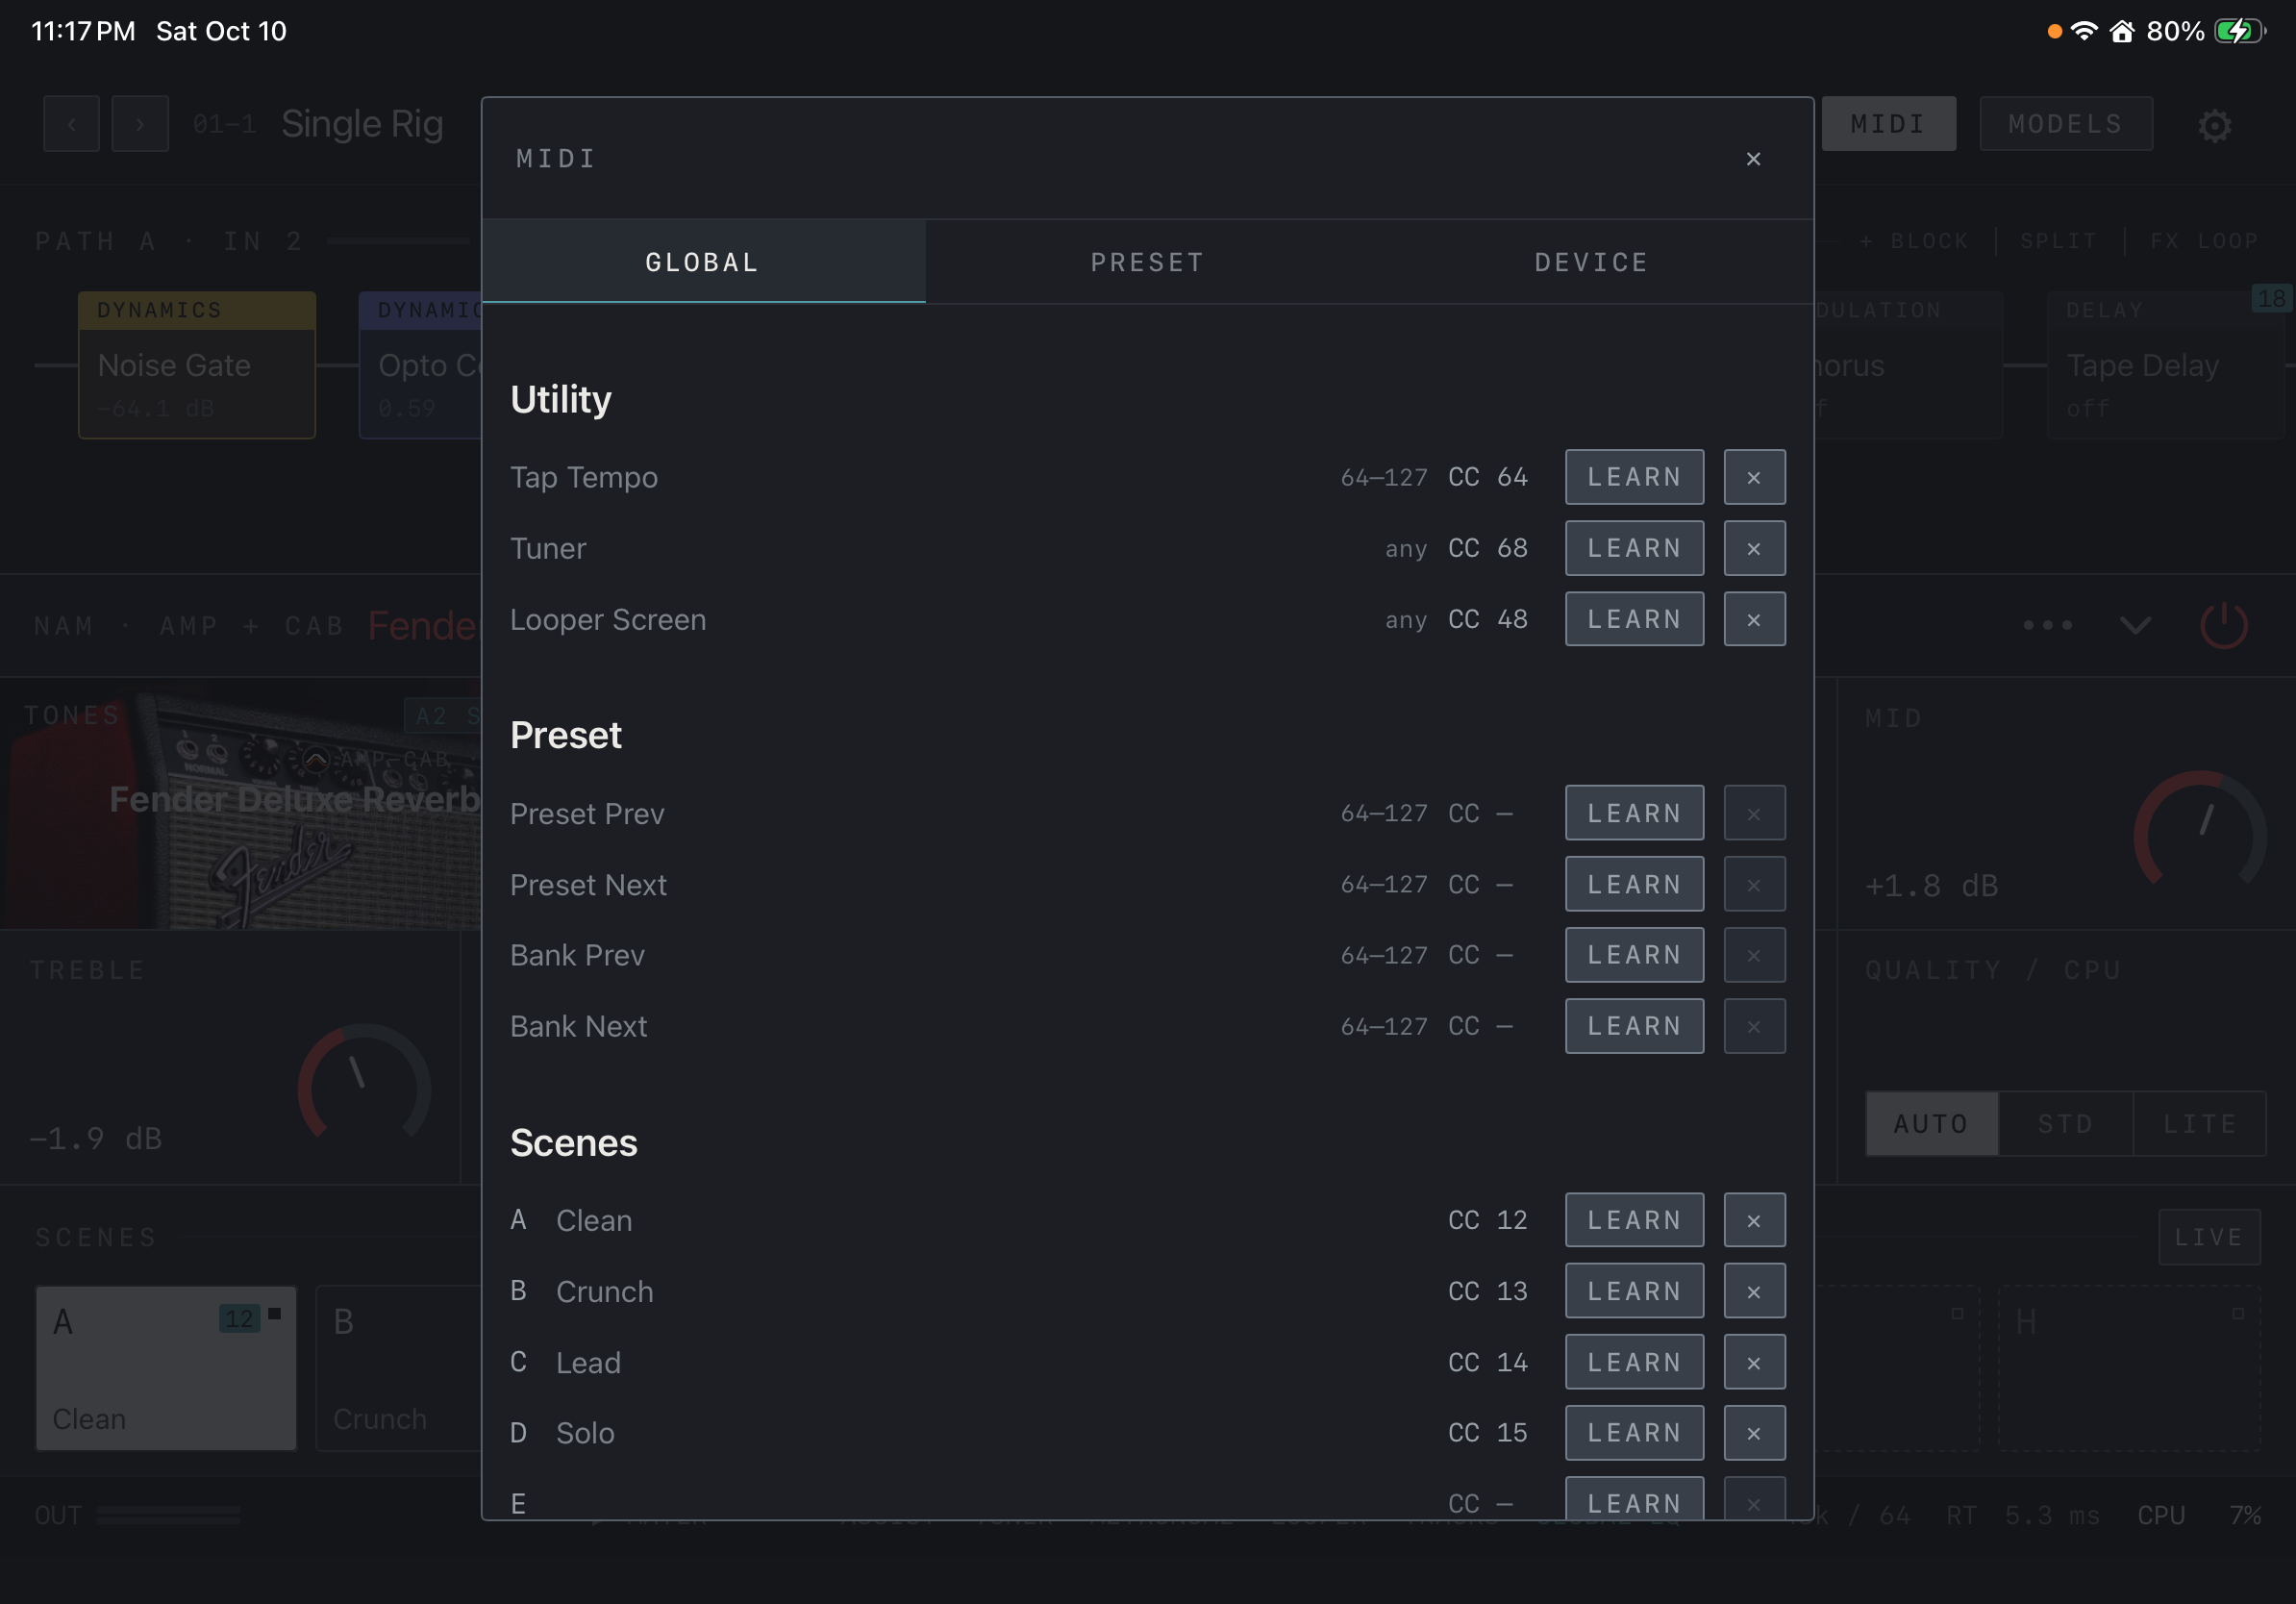
Find it on screen
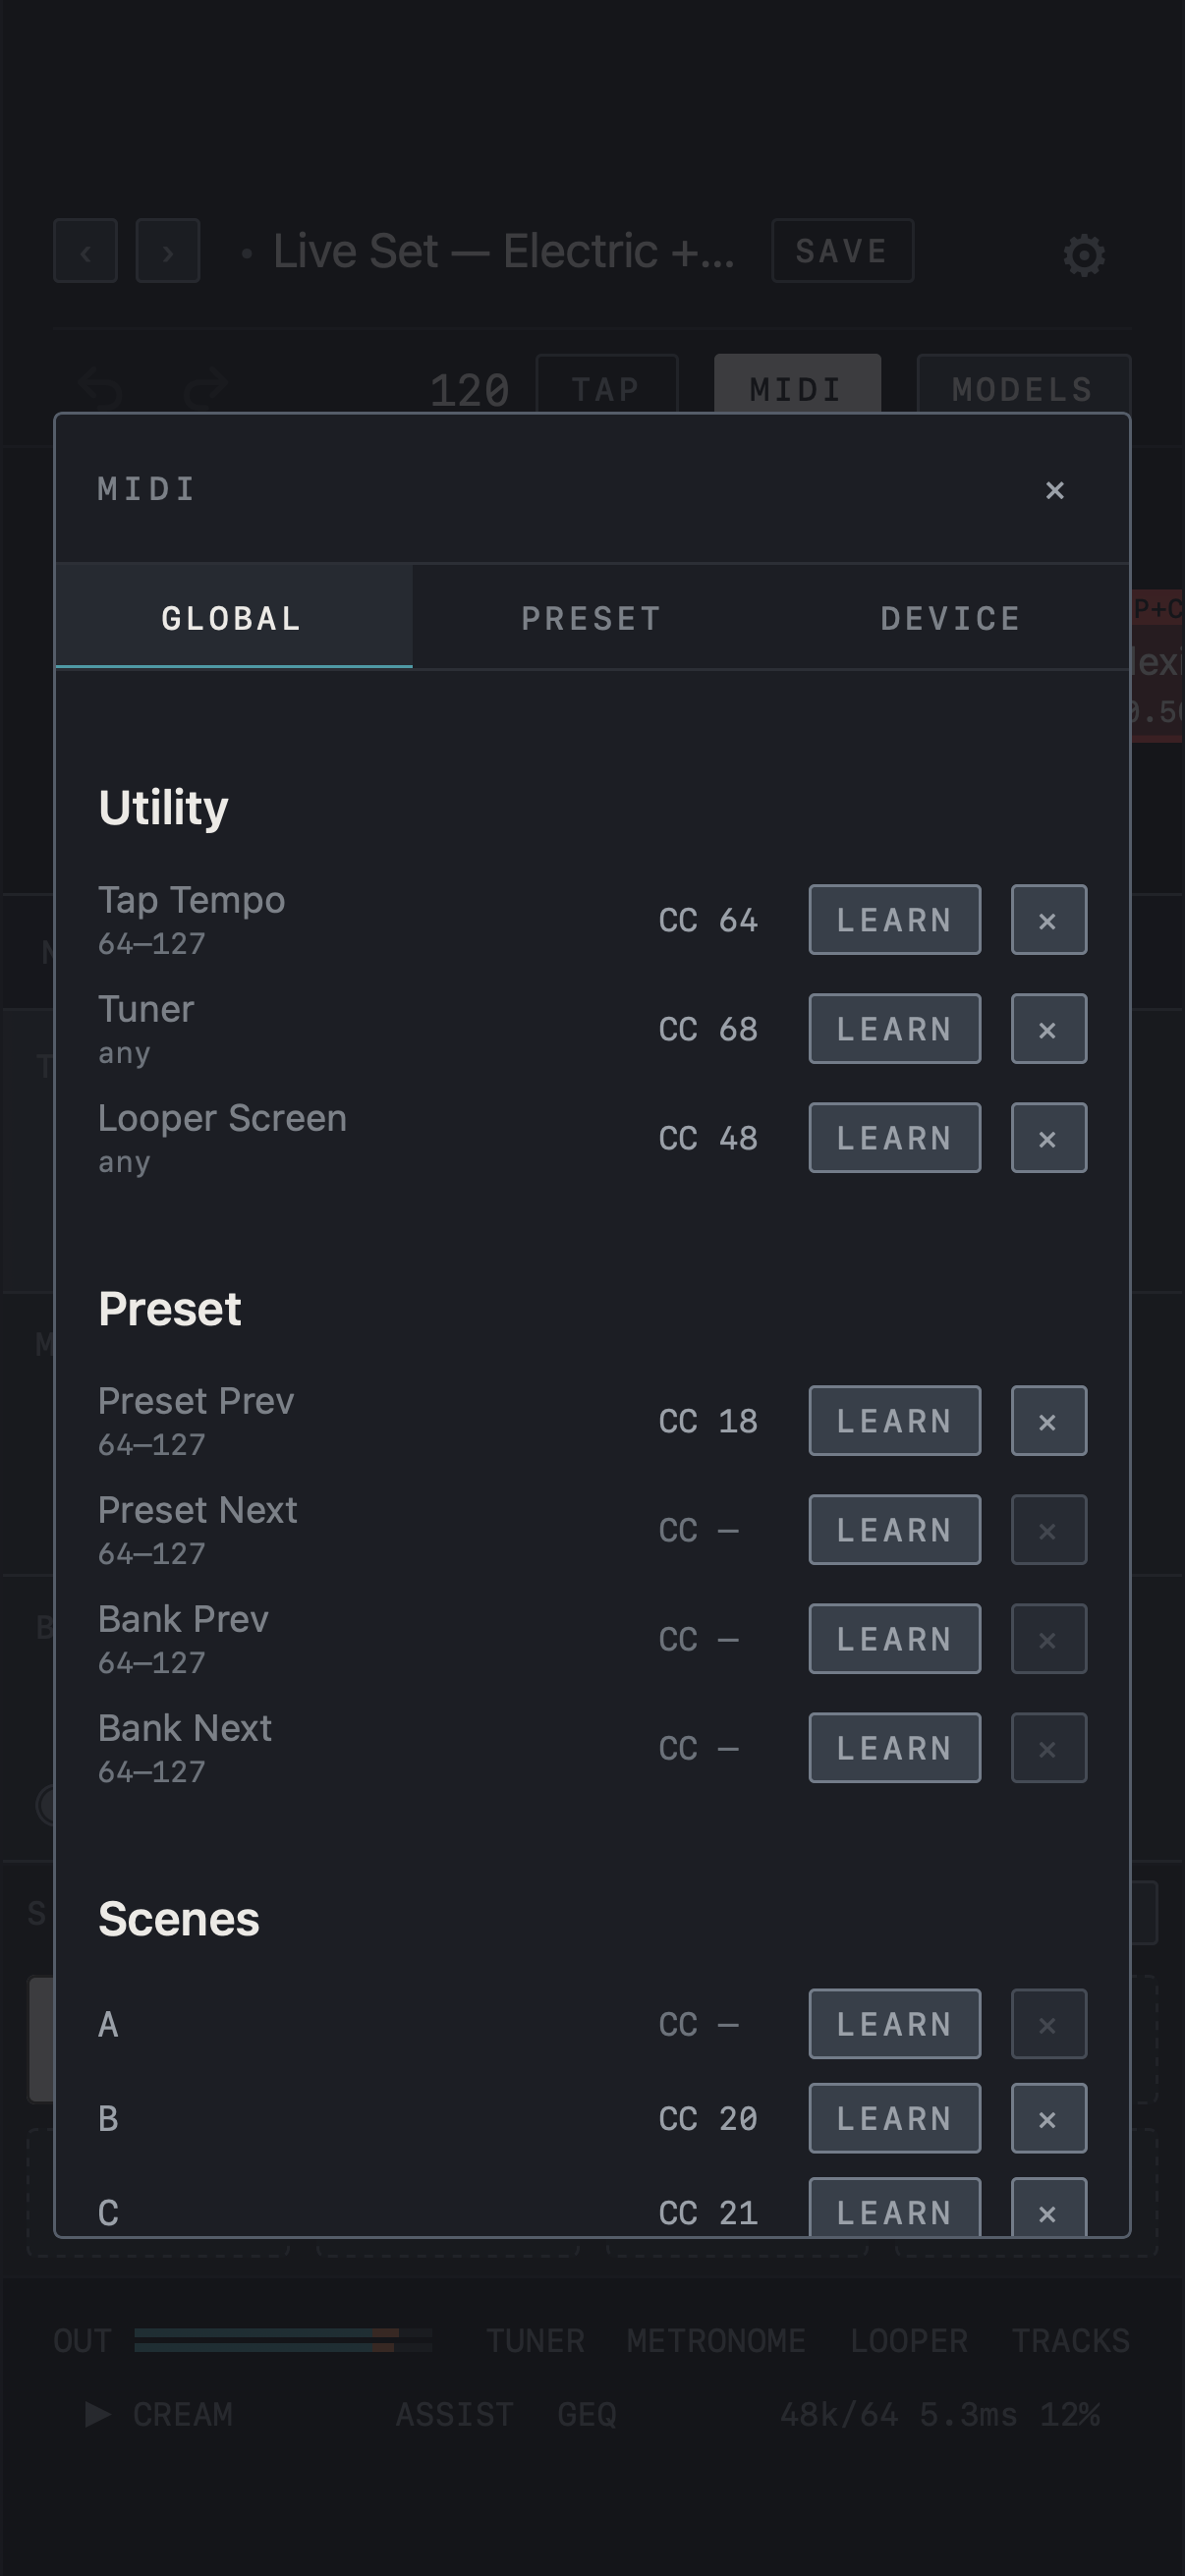
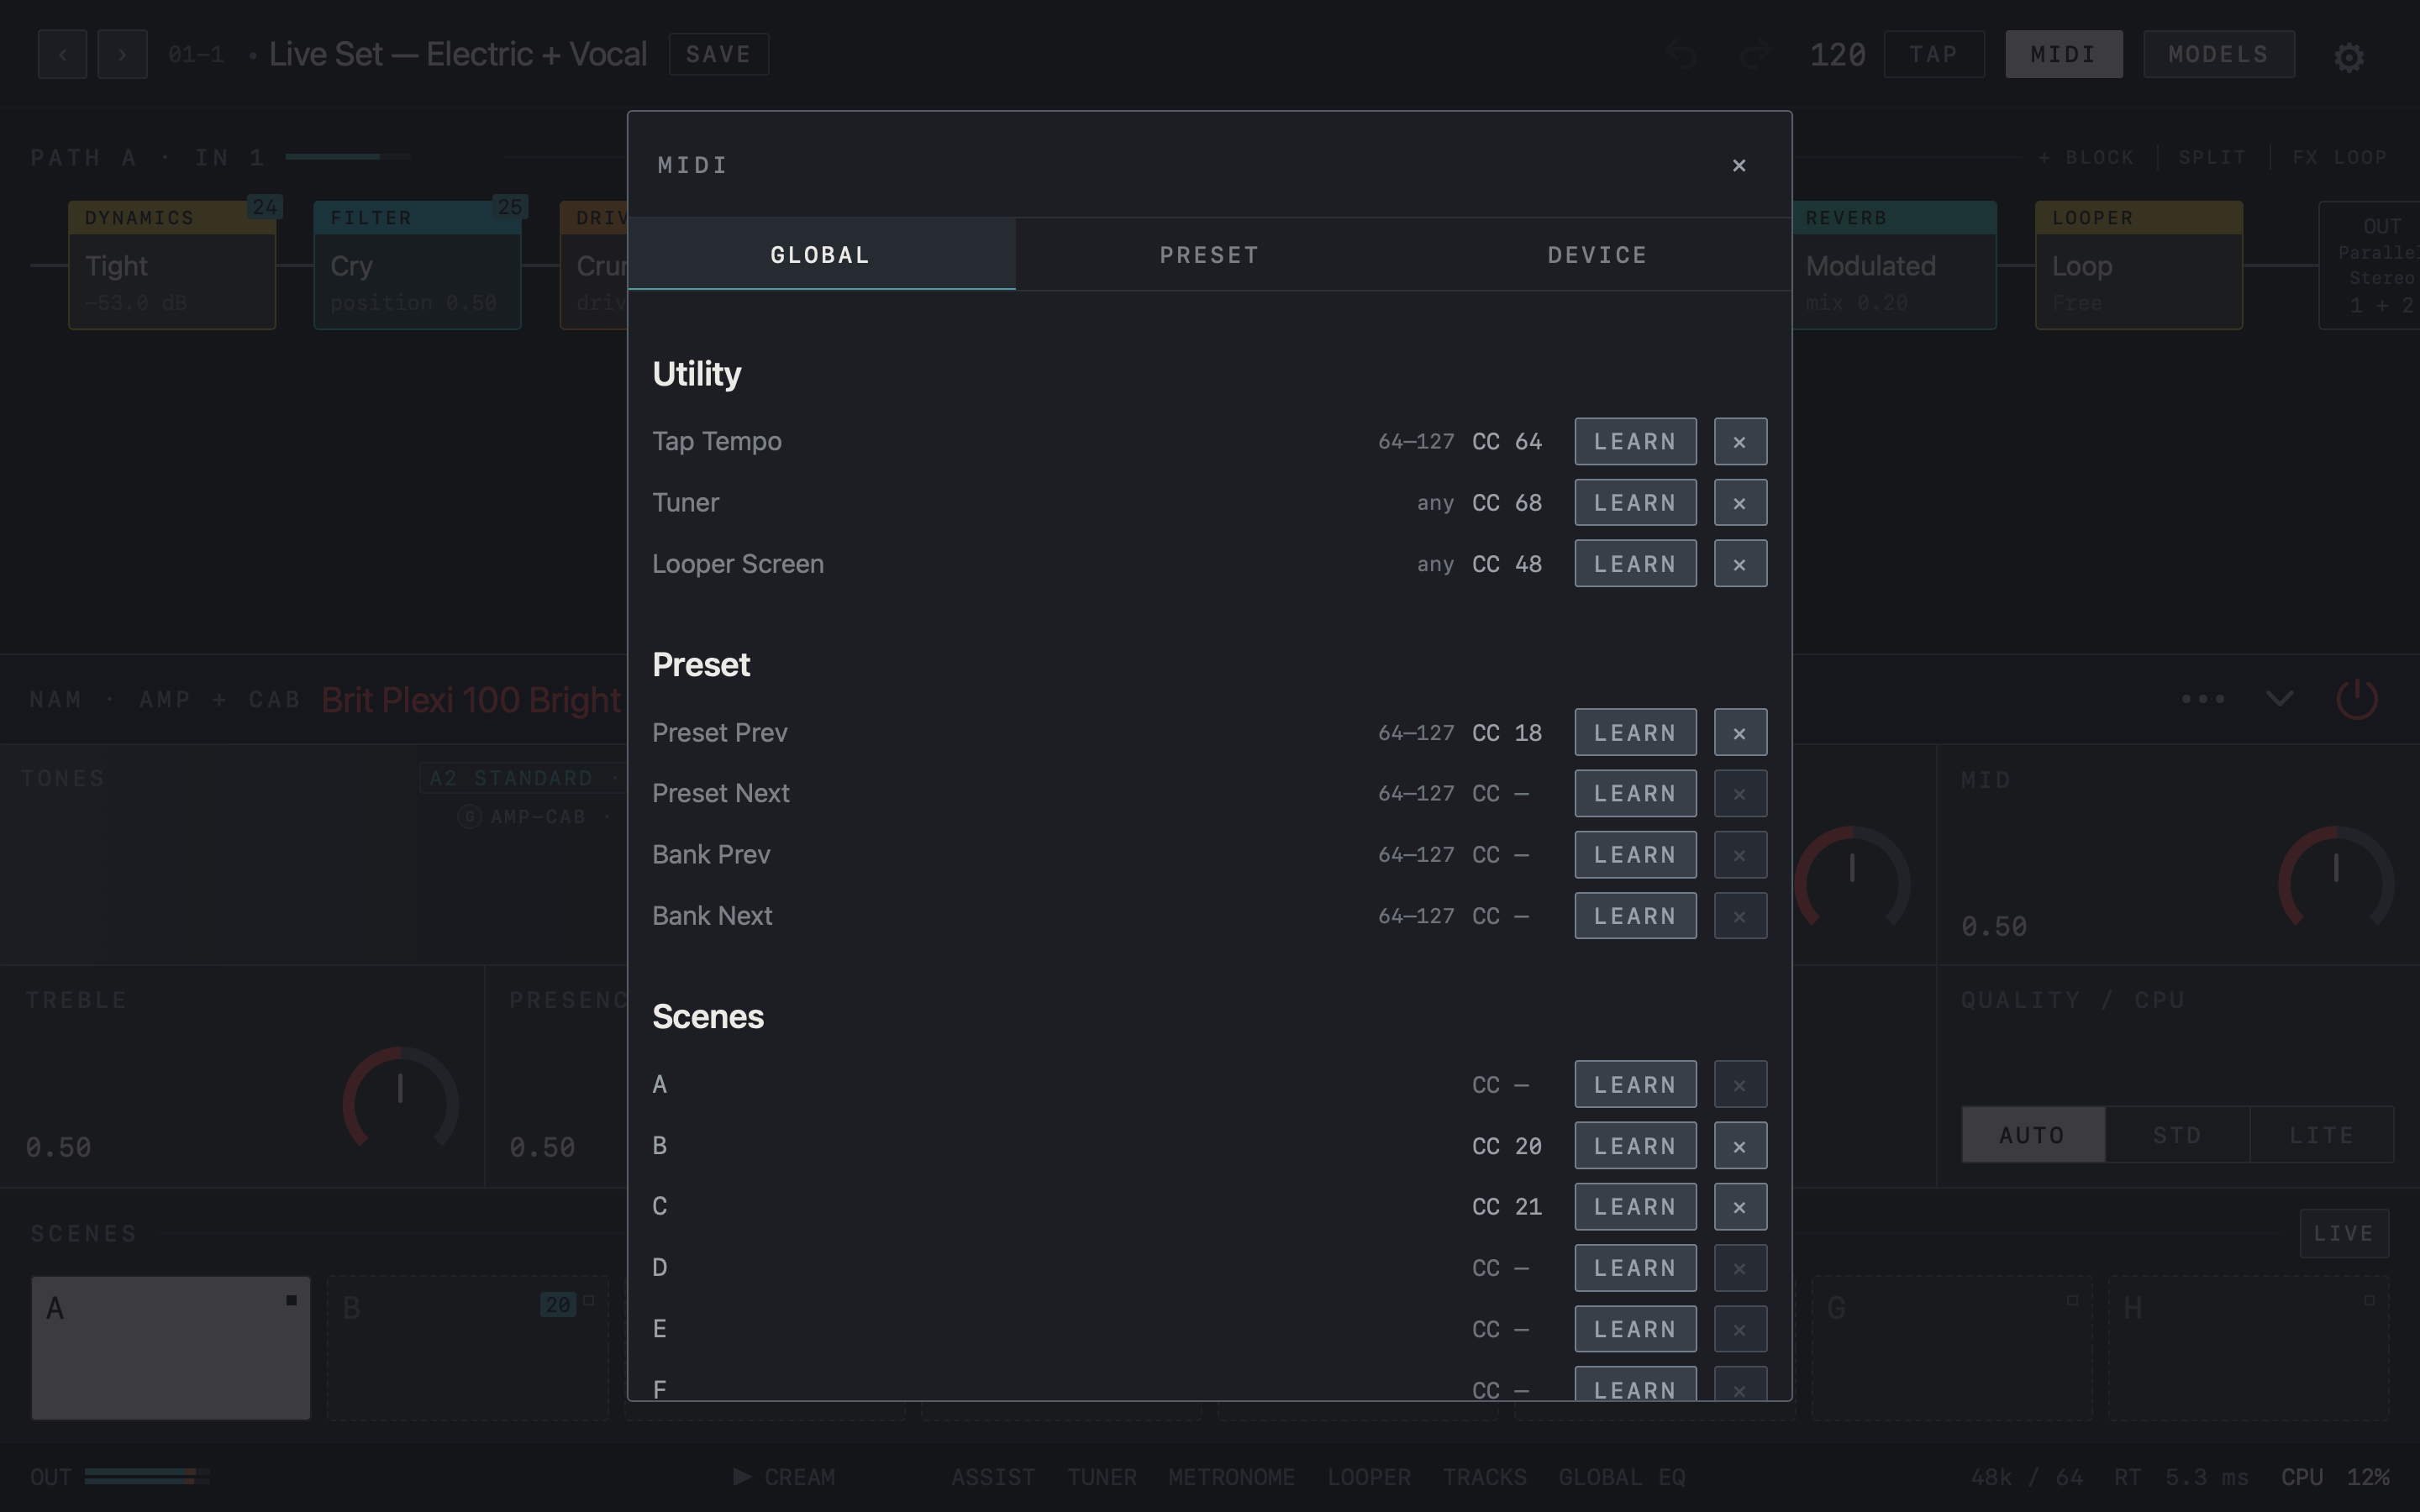
- The GLOBAL tab lists shared functions under Utility, Preset and Scenes.
- Tap LEARN on a row and operate the controller to fill in the CC number. CC — marks a row with no assignment yet.
- 64–127 and any say which values the row responds to. ✕ clears the assignment.
- Under Scenes, each row also shows the scene name (Clean, Crunch …).
Find it on screen
- The GLOBAL tab lists shared functions under Utility, Preset and Scenes.
- Tap LEARN on a row and operate the controller to fill in the CC number. CC — marks a row with no assignment yet.
- 64–127 and any say which values the row responds to. ✕ clears the assignment.
Find it on screen
- The GLOBAL tab lists shared functions under Utility, Preset and Scenes.
- Tap LEARN on a row and operate the controller to fill in the CC number. CC — marks a row with no assignment yet.
- 64–127 and any say which values the row responds to. ✕ clears the assignment.
Per-preset switches and pedals
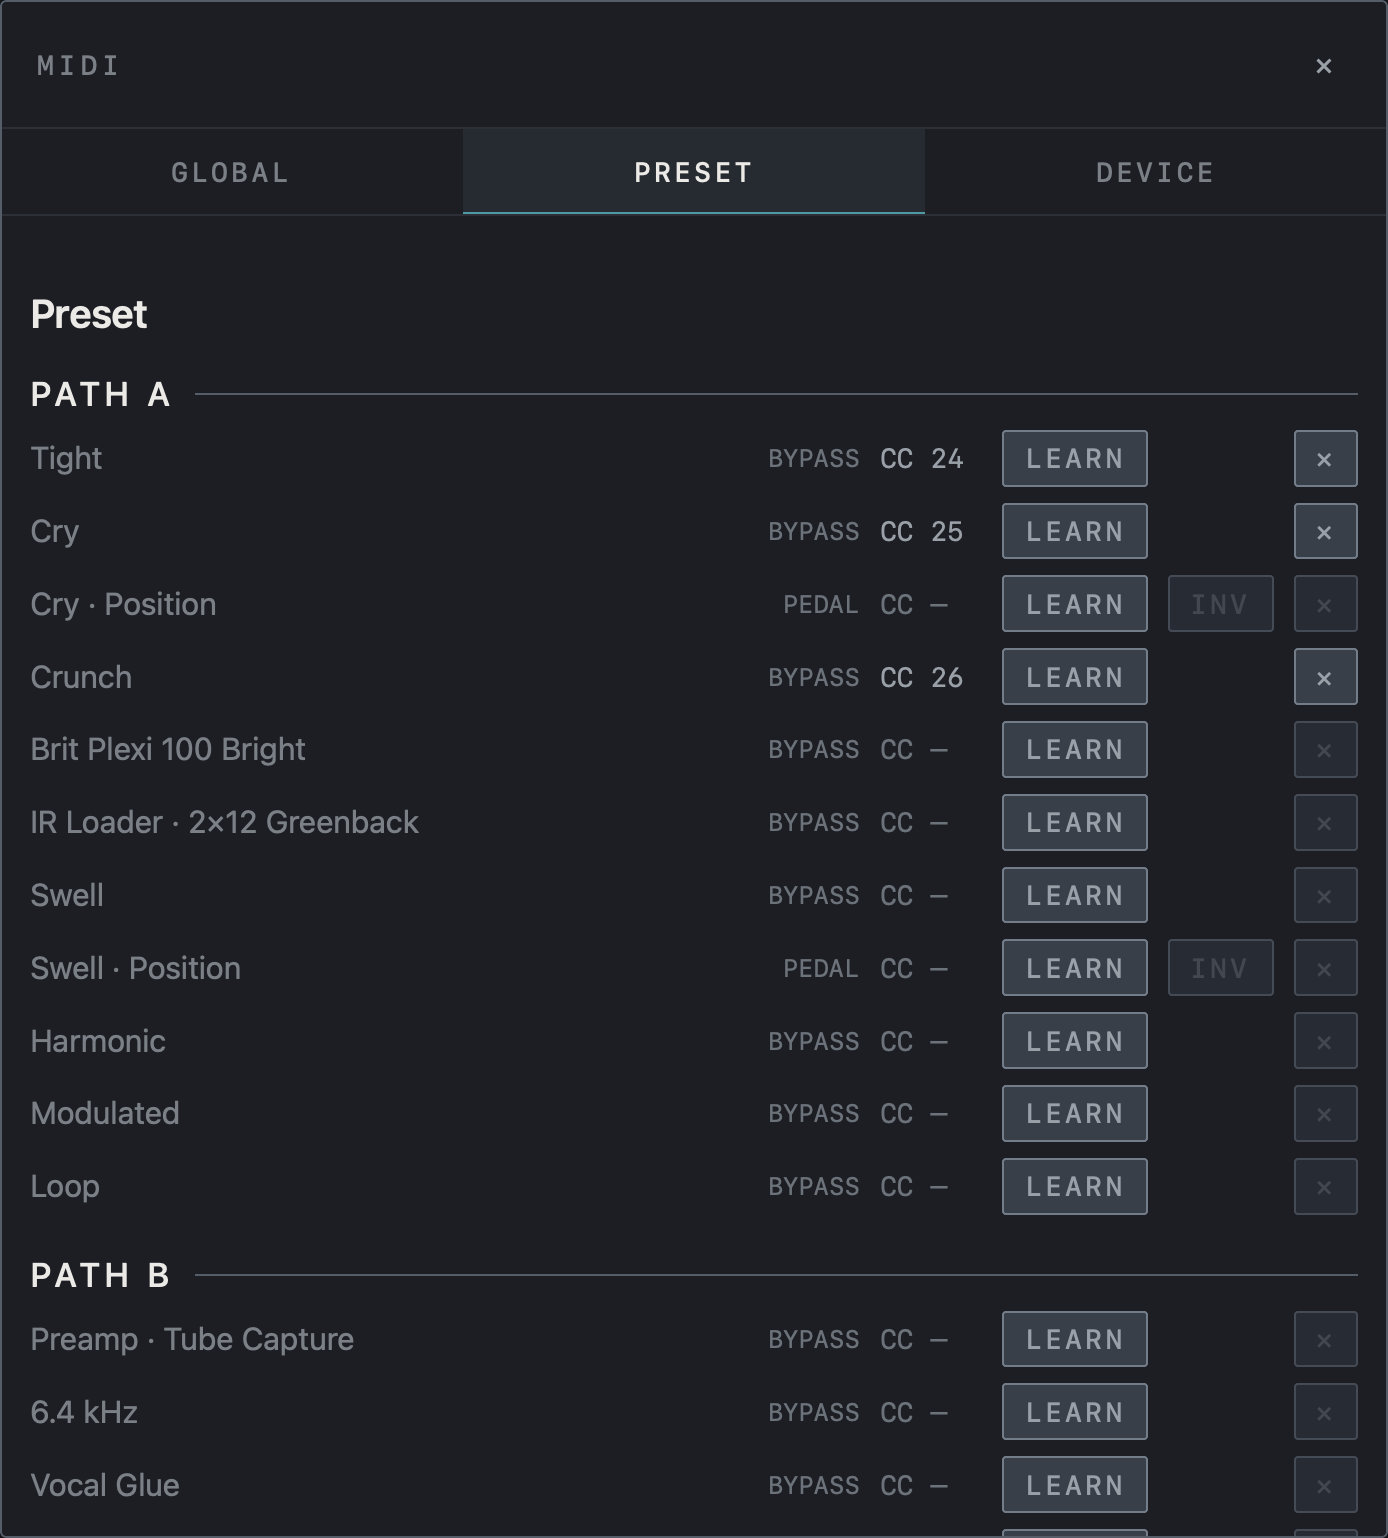
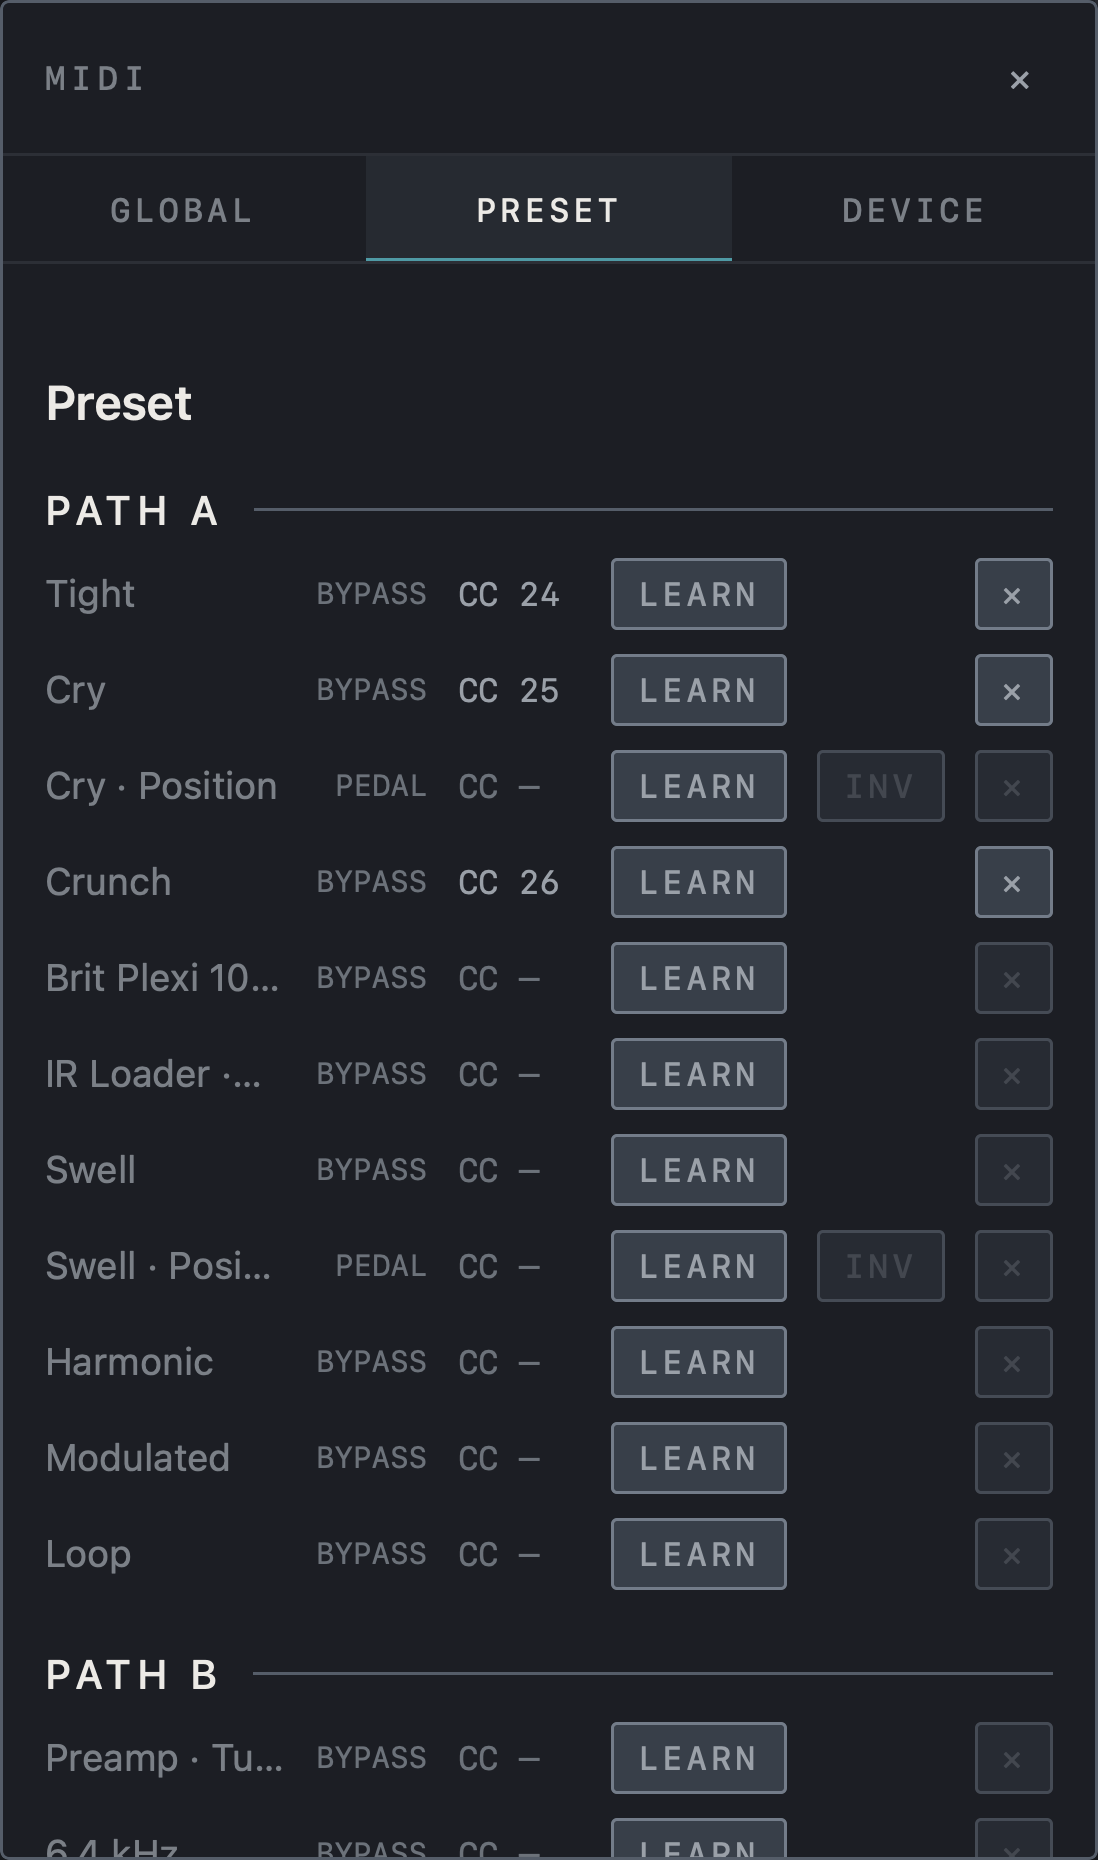
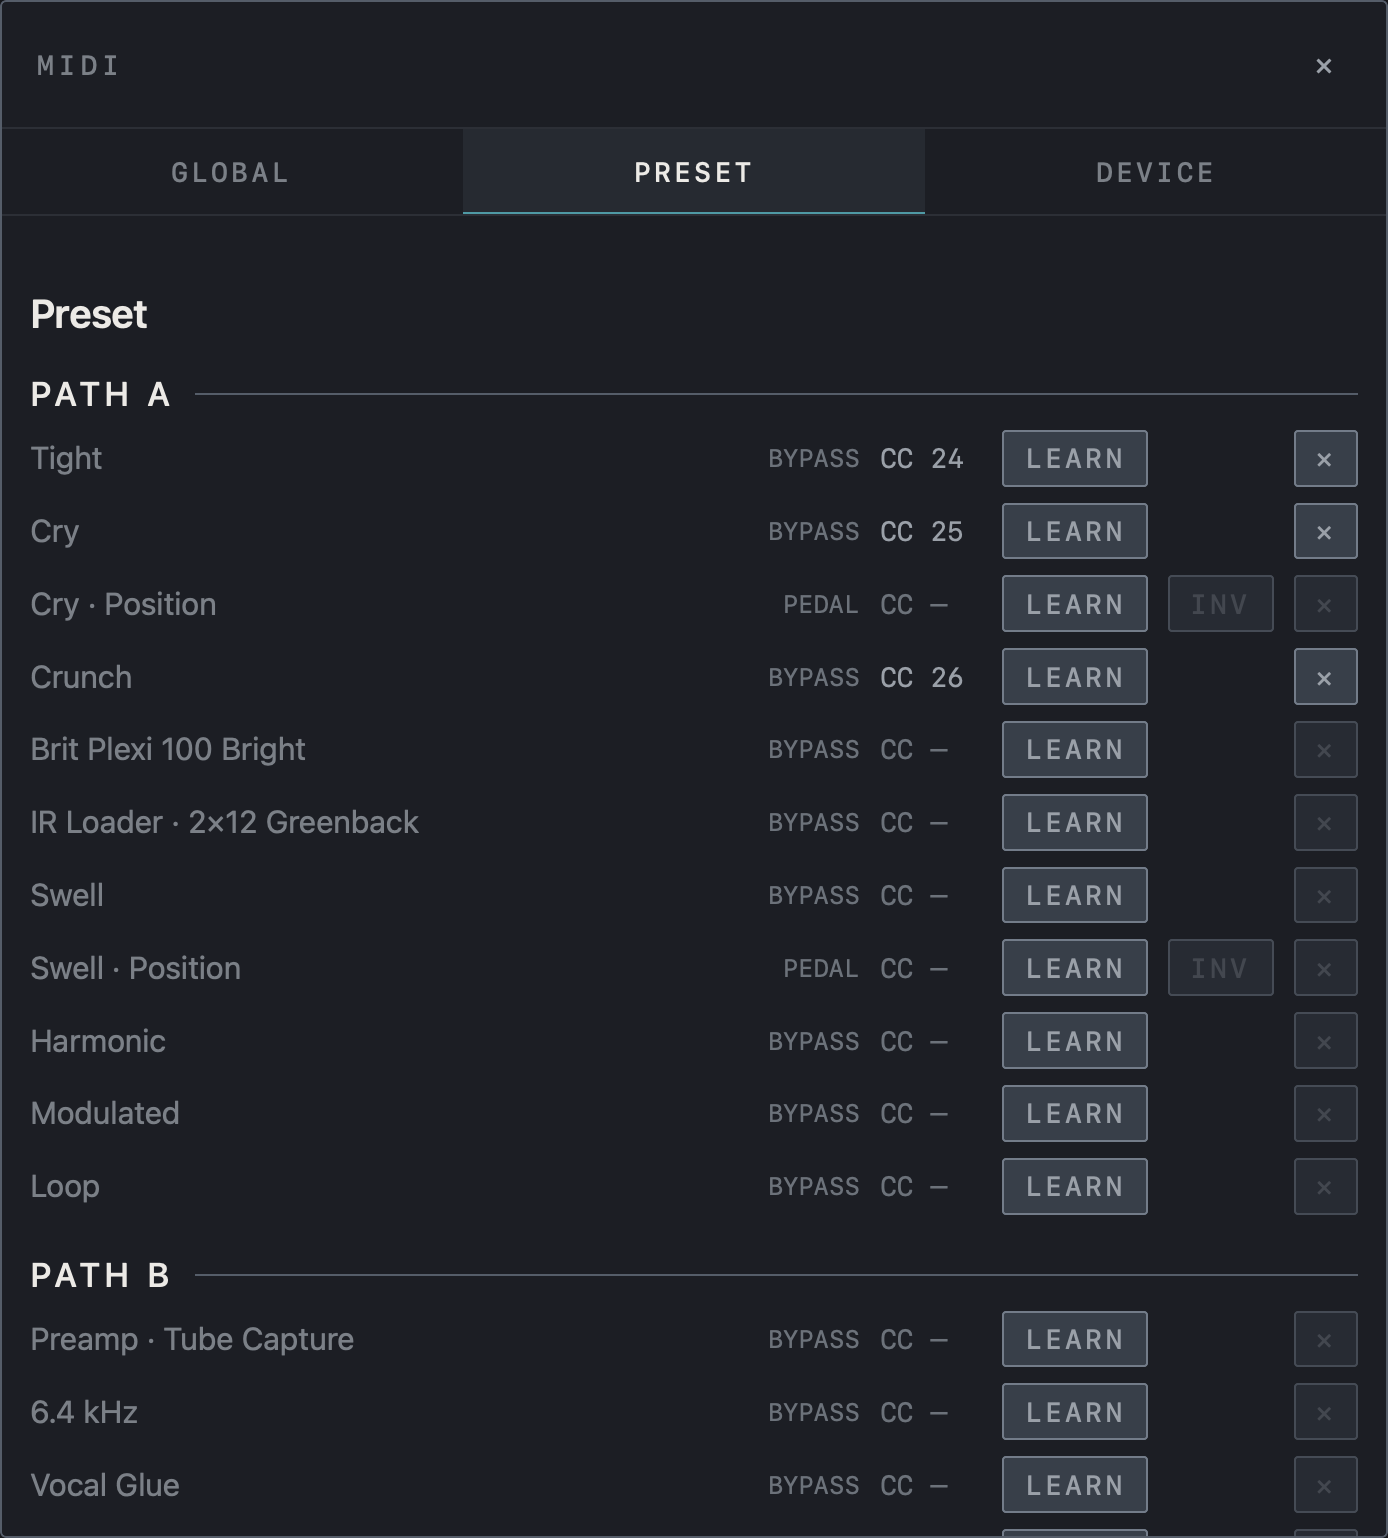
Find the block for PATH A or PATH B under PRESET. BYPASS engages the block on CC values 64–127 and bypasses it on 0–63. A PEDAL assignment controls a continuous value such as Volume or Wah Position. Use INV to reverse pedal travel. Volume Position defaults to CC 11, and Wah 95 Position defaults to CC 1. Tap ✕ to remove an assignment. To assign another parameter, touch and hold its name in the parameter panel. These assignments are saved with the preset.
Caution Before a show, check the pedal’s minimum and maximum values and the footswitch’s toggle or momentary operation.
Find it on screen
- The PRESET tab lists the blocks of the current preset under PATH A and PATH B.
- BYPASS rows are switches that turn a block on or off; PEDAL rows put an expression pedal on a value such as Position.
- INV on a PEDAL row reverses the pedal direction.
Find it on screen
- The PRESET tab lists the blocks of the current preset under PATH A and PATH B.
- BYPASS rows are switches that turn a block on or off; PEDAL rows put an expression pedal on a value such as Position.
- INV on a PEDAL row reverses the pedal direction.
Find it on screen
- The PRESET tab lists the blocks of the current preset under PATH A and PATH B.
- BYPASS rows are switches that turn a block on or off; PEDAL rows put an expression pedal on a value such as Position.
- INV on a PEDAL row reverses the pedal direction.
Looper and backing-track control
The lower part of the GLOBAL tab holds looper and Backing Tracks functions. Looper Rec / Play / Dub steps through record → play → overdub with each press, and Looper Play / Stop toggles playback. Looper One Switch uses a single switch: tap for Rec / Play / Dub, double tap for Stop, hold for Undo (Clear when stopped). You can also assign Pick Track 1–4, per-track Rec / Play / Dub and Stop, and Play, Stop and Clear for all tracks. Track Play / Pause and Track Stop control the backing track.
MIDI controller support
The controllers below come with NAM FX setup files and a ready-made assignment. For any other controller, assign each function as described in «Assign with LEARN» above.
PaintAudio MIDI Captain Mini 6
Three pages — scenes, stomps and the looper — with switch lights driven by NAM FX. Firmware FW5.x only. Apply matches these setup files, so they must be on the controller first. The factory files send different numbers.
Download the setup files (ZIP) ↓
The ZIP holds the three page files (page0.txt · page1.txt · page2.txt).
| Switch | 1 SCENE (purple) | 2 STOMP (orange) | 3 LOOPER (teal) |
|---|---|---|---|
| 1 | Scene A | SW1 on/off | Short: undo · long: redo |
| 2 | Scene B | SW2 on/off | Short: track 1→2→3→4 · long: loop screen |
| 3 | Page key | Page key | Page key |
| A | Scene C | SW3 on/off | Record → play → overdub → play … |
| B | Scene D | SW4 on/off | Short: stop · long: clear |
| C | Tap tempo · long: tuner | Tap tempo · long: tuner | Tap tempo · long: tuner |
1. Check for firmware FW5
- With the controller off, hold switch 1 while powering on: a
MIDICAPTAINdisk appears on your computer. - If the top of the disk has
kemperLVL1andtimeenginefolders, it is FW5. If it only hascode.py,libandsupersetup.bak, it is older firmware, and these files showKeyError: globalsetupat start-up. - On older firmware, get the Mini 6 FW5 firmware and update instructions from the PaintAudio support page and install it first. The update erases the disk, so back the whole disk up first. Open the update page in Chrome (Safari does not work).
2. Put the files on the controller
- Back up first. Hold switch 1 while powering on to mount the
MIDICAPTAINdisk, and copy the wholesupersetupfolder to your computer. - Unzip the download (Safari on Mac unzips it for you; on iPad and iPhone, tap the ZIP in Files).
- In
supersetupon the disk, replacepage0.txt,page1.txtandpage2.txtwith the three files. - Move
page3.txtand any later pages to your backup. Left in place, the page key steps through them too. - Eject the disk. On a Mac, wait about a minute before ejecting — powering off mid-write can corrupt the setup files.
- Hold A while powering on to enter SuperMode. The screen should show
SCENE.
3. Apply in NAM FX
- Connect the controller to your Mac, iPad or iPhone over USB. On iPad with an audio interface too, you need a USB-C hub.
- Tap MIDI in the top bar → the DEVICE tab → Apply on the MIDI Captain Mini 6 row. Scenes A–D, SW1–4, tap tempo, the tuner and the looper are assigned at once, and the switch lights come on. The row only appears while the controller is connected.
- Choose the effects for SW1–4 per preset. With the controller on the STOMP page, tap LEARN on that effect’s row in the PRESET tab, then step on the switch. The light turns the effect’s colour when it is assigned.
- Expression pedals (optional): EXP1 sends CC#11 (pedal 1 · volume) and EXP2 sends CC#1 (pedal 2 · wah).
On FW5 the controller appears on Mac and iPad as Feather RP2040; NAM FX recognises that name as a MIDI Captain. Inside the AUv3 plug-in the host handles MIDI, so the row does not appear there.
Switch lights
NAM FX sends its state to the controller to light the switches. With Switch lights off in the DEVICE tab, the controller shows only the colours from the files.
| Switch | Colour |
|---|---|
| 3 (page key) | Current page — SCENE purple · STOMP orange · LOOPER teal |
| Scenes | The current scene bright purple, the others dim |
| SW1–4 | The assigned effect’s colour — bright when on, dim when off, dark with nothing assigned |
| Looper A | Recording blinks red · playing green · overdubbing blinks yellow · empty track dim white |
| Looper 2 | The selected track — 1 white · 2 sky · 3 pink · 4 orange |
| C | A white flash on every beat, magenta while the tuner is open |
If it doesn’t work
- Switches do nothing — check that these setup files are on the controller. The screen should show
SCENE,STOMPorLOOPER. - No MIDI Captain row — check that the controller is connected over USB and its name shows in the DEVICE tab.
- Lights don’t change — check that Switch lights is on and that the files still have
externalmidicontrol = [on]andexternalmidicontrolch = [16]. - The app doesn’t follow page changes — turn Switch lights on. The app follows pages only while it is on.